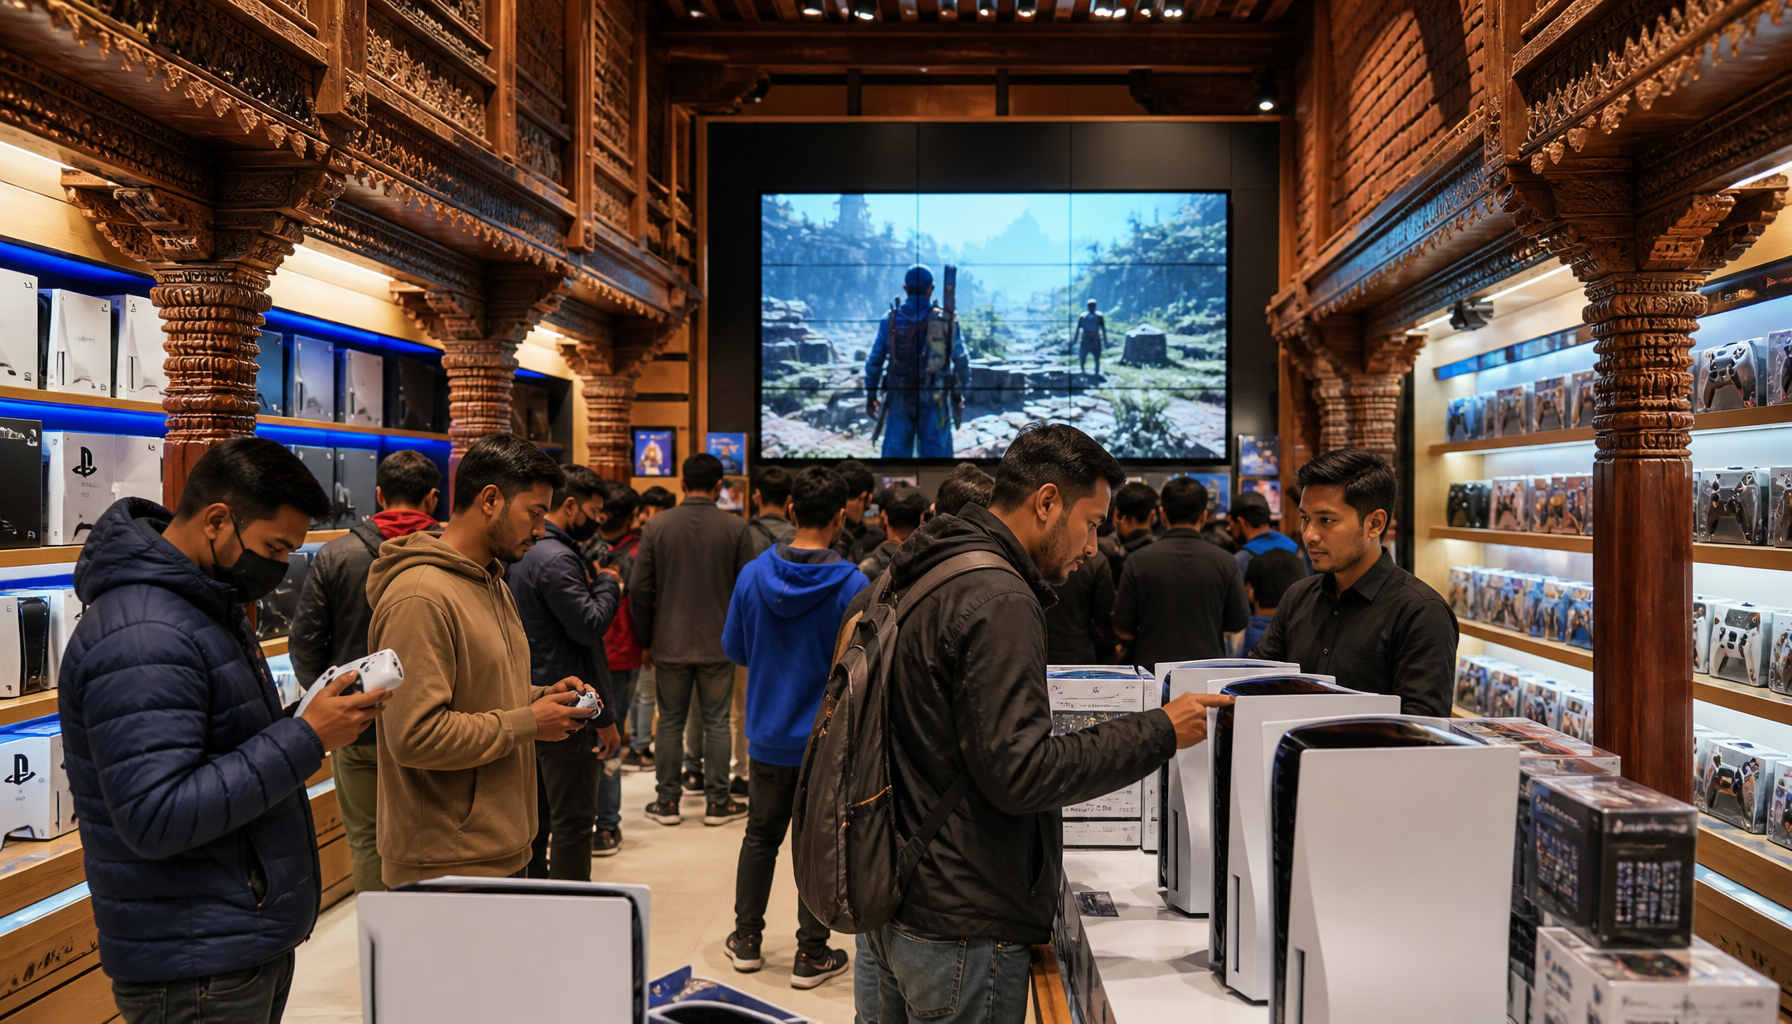
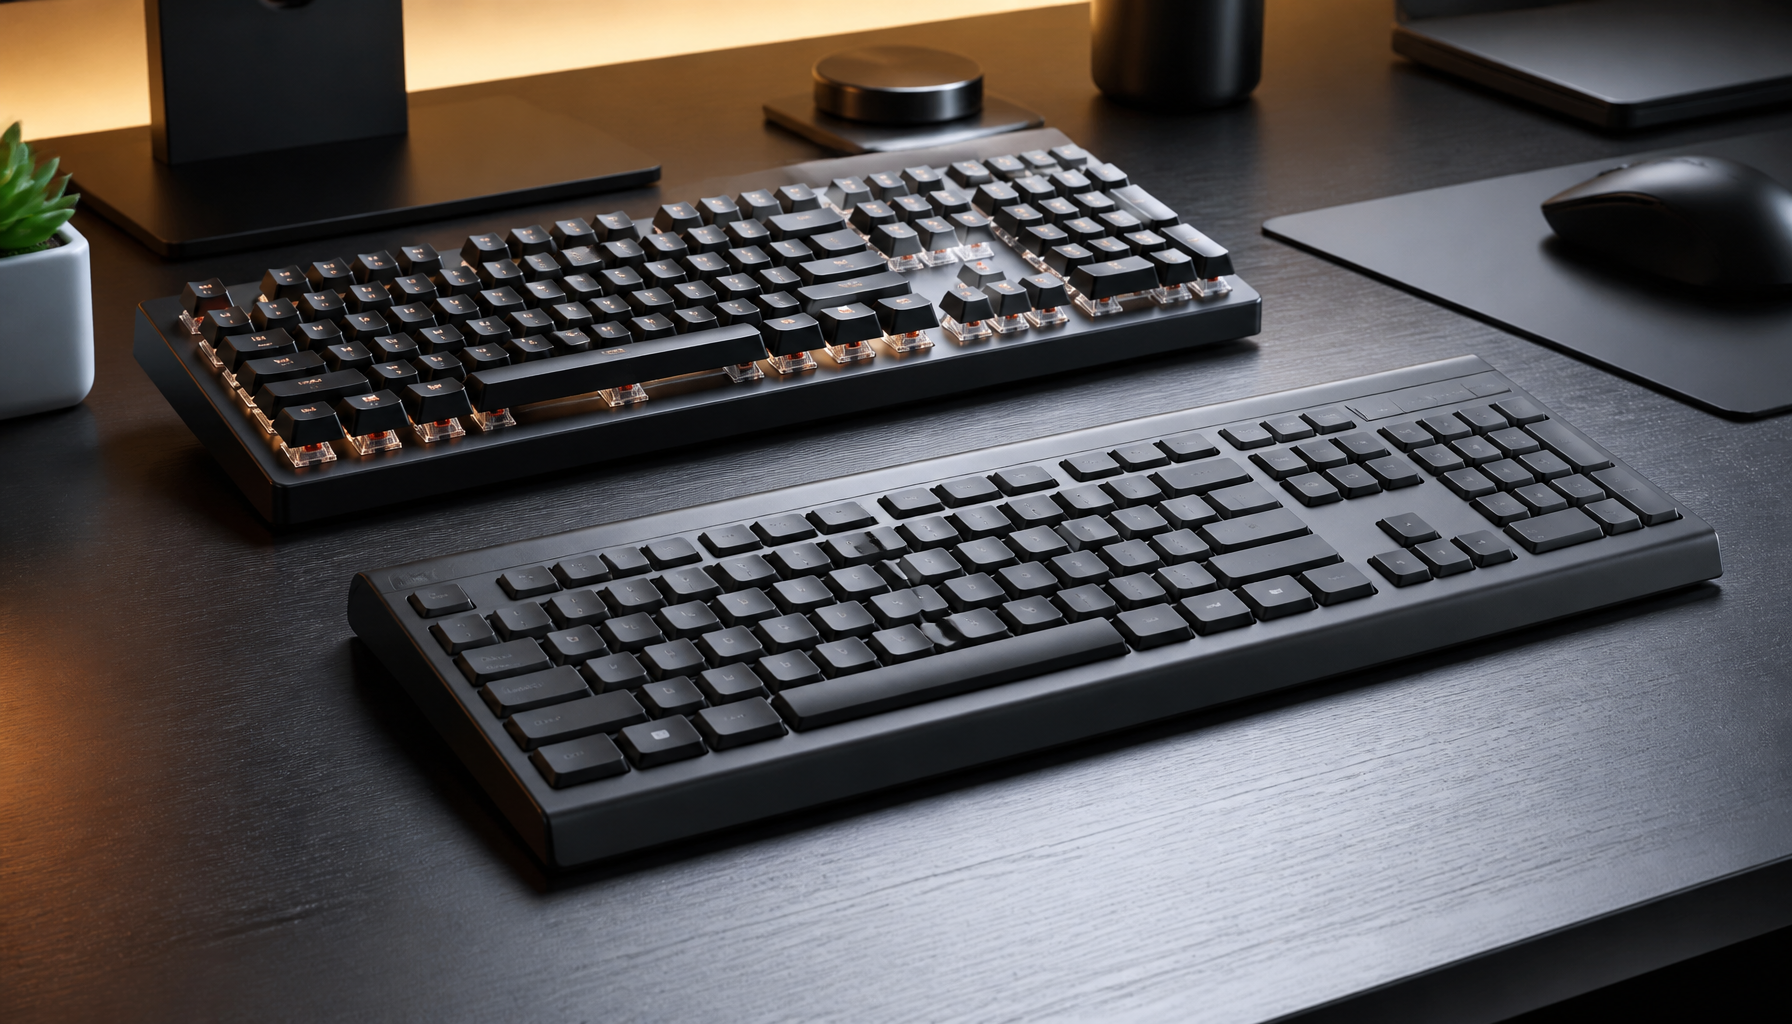
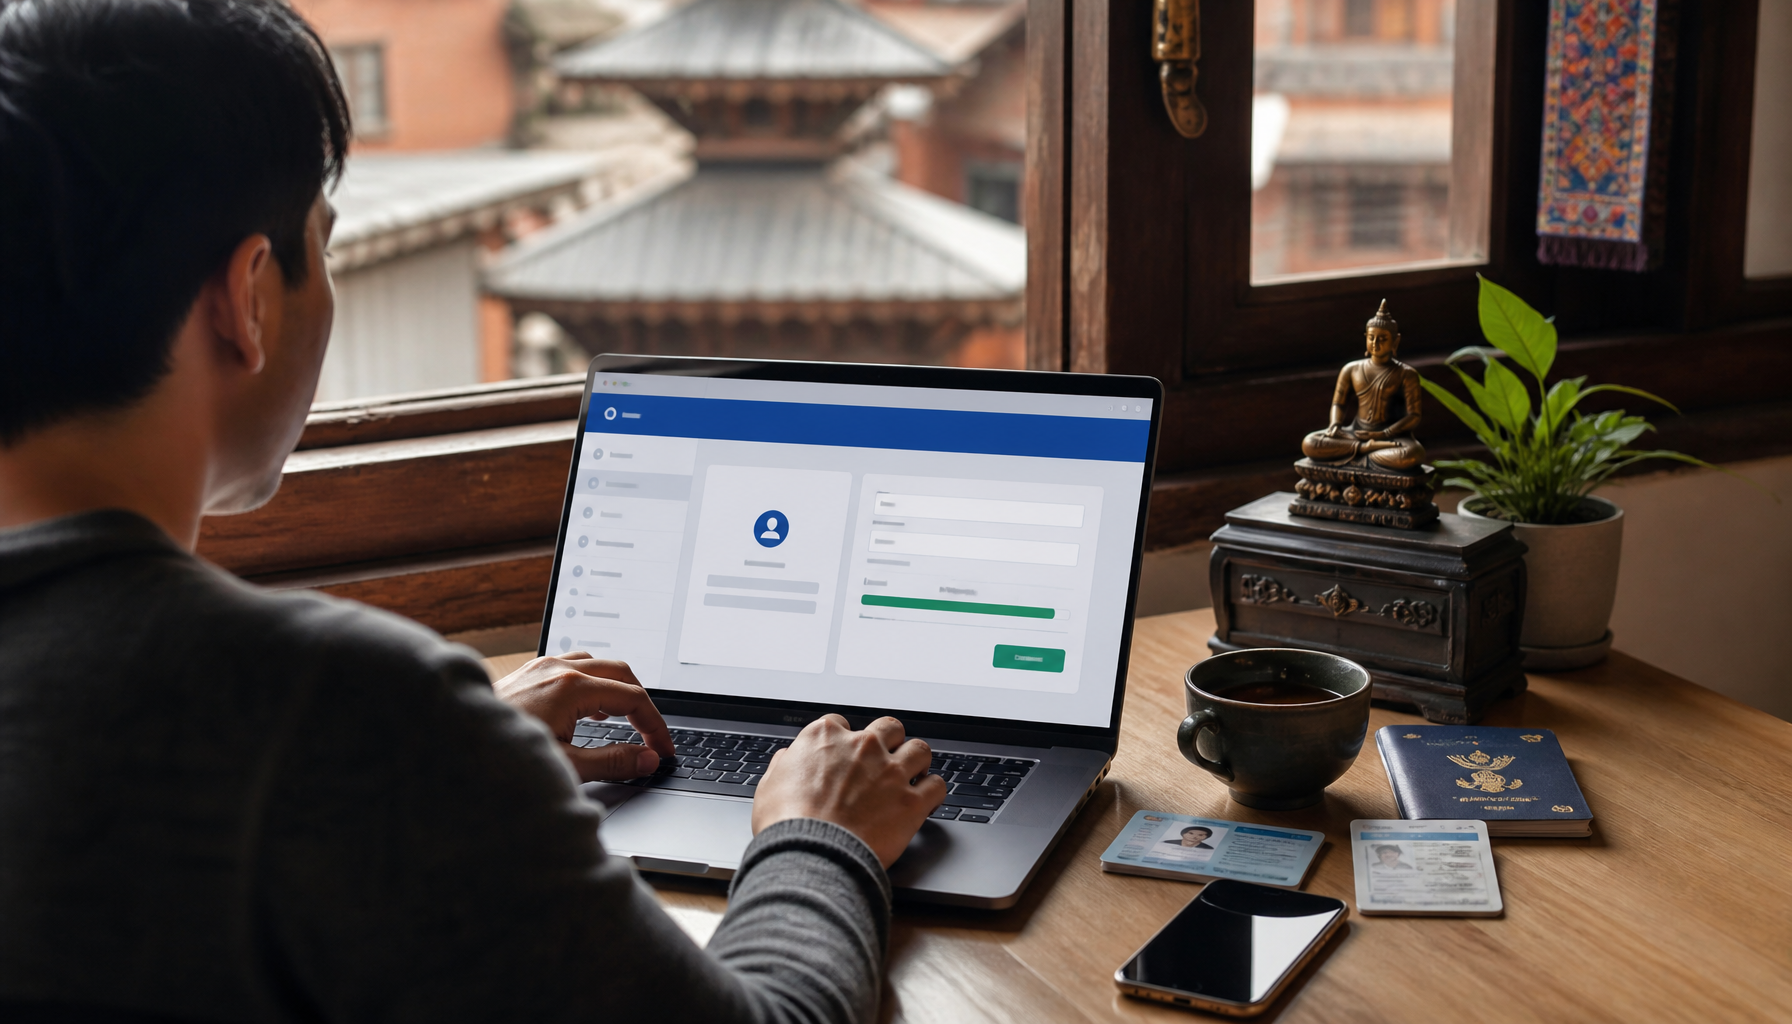
The PlayStation 5 (PS5) has become one of the most sought-after gaming consoles globally, and Kathmandu is no exception. With gaming enthusiasts eager to get their hands on the latest technology, understanding the PS5 price in Kathmandu is crucial. This guide will explore current pricing trends, provide tips on where to find the best deals, and offer insights into the factors influencing these prices.
📌 Key Takeaways
Discover the current PS5 price trends in Kathmandu.
Learn where to find the best PS5 deals and availability in Nepal.
Understand factors affecting PS5 pricing in the Kathmandu market.
📋 Table of Contents
15 Sections
Understanding PS5 Price Trends in Kathmandu
Current Market Prices
As of the latest data, the PS5 price in Kathmandu generally ranges from NPR 90,000 to NPR 120,000. This wide range reflects the variability in supply and demand dynamics, which are influenced by several local factors. The PS5 Digital Edition tends to be slightly cheaper compared to the PS5 Standard Edition, which includes a disc drive.
Factors Influencing Pricing
Several factors contribute to the cost of PlayStation 5 cost in Kathmandu:
Import Taxes and Duties: Nepal imposes significant import taxes on electronic goods, which directly affects the retail price of consoles like the PS5.
Supply Chain Constraints: Global supply chain issues have been impacting the availability of PS5 units worldwide. Kathmandu, being a smaller market, often faces shortages, which can drive up prices.
Retailer Markups: Different retailers apply varying markups based on their business models and the competitive landscape. This leads to price differences across the city.
Exchange Rate Fluctuations: Since the PS5 is imported, fluctuations in currency exchange rates can also impact pricing.
For further insights into the local market dynamics, you can explore [Nepal electronics market insights](https://www.nepalitimes.com).
Where to Buy PS5 in Kathmandu
Authorized Retailers
To ensure authenticity and warranty coverage, purchasing from authorized retailers is recommended. Some of the notable stores include:
Sony Center Nepal: The official distributor for Sony products in Nepal, offering the latest PS5 models with warranty and after-sales support.
Ramesh Corp: A trusted name in electronics, providing competitive prices and genuine products.
Online Purchase Options
For those who prefer the convenience of online shopping, several platforms offer PS5 units:
Daraz Nepal: A leading e-commerce platform where you might find PS5 consoles listed by various sellers. It’s important to check seller ratings and reviews.
SastoDeal: Another popular online marketplace that occasionally features special deals on gaming consoles.
💡 Pro Tip: Always verify the seller’s authenticity and check for customer reviews when purchasing online to avoid counterfeit products.
Comparing PS5 with Other Gaming Consoles
PS5 vs Xbox Series X
When comparing the PS5 pricing Kathmandu with the Xbox Series X, the PS5 is often priced slightly higher. However, the PS5 offers exclusive games and features like the DualSense controller with haptic feedback, which many gamers find appealing.
Feature
PS5
Xbox Series X
Price in Kathmandu
NPR 90,000 – NPR 120,000
NPR 85,000 – NPR 110,000
Storage
825GB SSD
1TB SSD
Exclusive Titles
Spider-Man: Miles Morales
Halo Infinite
PS5 vs Nintendo Switch
The Nintendo Switch offers a different gaming experience with its hybrid design, allowing for both handheld and docked play. It is generally cheaper than the PS5, making it a popular choice for casual gamers.
Feature
PS5
Nintendo Switch
Price in Kathmandu
NPR 90,000 – NPR 120,000
NPR 50,000 – NPR 70,000
Game Library
Extensive AAA titles
Strong in family-friendly games
Portability
No
Yes
Tips for Finding the Best PS5 Deals in Nepal
Seasonal Offers
Retailers often lower prices during festive seasons such as Dashain and Tihar. These periods are ideal for purchasing electronics due to discounts and promotions.
Bundle Deals
Some retailers offer bundle deals that include the PS5 console with additional controllers or popular game titles. These bundles can provide better value and are worth exploring.
⚠️ Important Note: Always compare bundle offers with the cost of purchasing items separately to ensure you’re getting a genuine deal.
Future Outlook: PS5 Pricing in Kathmandu
Predicted Market Changes
As global supply chains stabilize, it is expected that the PS5 price in Kathmandu may see a slight decrease. However, this is contingent on consistent supply and reduced import tariffs.
Impact of Global Supply
The global semiconductor shortage has had a significant impact on console availability. As production ramps up, increased supply could lead to more competitive pricing in Kathmandu.
For official PS5 specifications and features, visit [Sony’s official PlayStation site](https://www.playstation.com).
In summary, while the PS5 price in Kathmandu can be steep due to various factors, understanding these dynamics and knowing where to look for deals can help you make an informed purchase. Whether you’re a seasoned gamer or a newcomer eager to join the PlayStation community, staying informed is your best strategy.
Frequently Asked Questions
What is the current PS5 price in Kathmandu?
The PS5 price in Kathmandu varies, generally ranging from NPR 90,000 to NPR 120,000 depending on the retailer and availability.
Where can I find the best PS5 deals in Nepal?
The best PS5 deals can often be found during festive seasons or through online retailers offering bundle discounts.
How does the PS5 compare to other gaming consoles?
The PS5 offers advanced features and exclusive games, often at a higher price compared to other consoles like Xbox Series X and Nintendo Switch.
When faced with the decision between mechanical vs membrane keyboards, it’s crucial to understand the nuances that distinguish these two popular types. Whether you’re a gamer craving responsive precision or a typist seeking comfort over long hours, the choice between these keyboards can significantly impact your experience.
📌 Key Takeaways
Mechanical keyboards offer superior durability and tactile feedback.
Membrane keyboards are quieter and more affordable, ideal for casual users.
Choosing between mechanical and membrane depends on your specific needs, such as gaming or typing.
📋 Table of Contents
15 Sections
Understanding Mechanical Keyboards
What Are Mechanical Keyboards?
Mechanical keyboards are renowned for their construction, which involves individual mechanical switches for each key. Each switch consists of a base, a spring, and a stem, which together provide a distinct tactile feel. This design fundamentally differs from other keyboard types, offering a more precise and satisfying typing experience. Mechanical keyboards are often favored by gamers and heavy typists due to their responsiveness and durability.
Advantages of Mechanical Keyboards
Mechanical keyboards offer several compelling benefits:
Tactile Feedback: The switches in mechanical keyboards provide a clear bump or click sound, which can enhance typing precision and speed. This feedback is invaluable for touch typists who rely on physical cues to improve accuracy.
Durability: The robust construction of mechanical switches often translates to a longer lifespan. Most mechanical keyboards can withstand 50 million keystrokes per switch, making them a durable choice for frequent users. A [keyboard durability study](https://www.rtings.com/keyboard/tests/durability) highlights the longevity that mechanical keyboards can offer.
Customization: Many mechanical keyboards come with customizable keys and switches, allowing users to tailor the keyboard’s feel and response to their liking. This level of personalization is a significant draw for enthusiasts who want a bespoke typing experience.
Exploring Membrane Keyboards
What Are Membrane Keyboards?
Membrane keyboards feature a different mechanism, using pressure pads beneath the keys. This technology involves a thin membrane layer that registers keystrokes when pressed. Membrane keyboards are often found in office environments due to their affordability and quieter operation.
Advantages of Membrane Keyboards
Membrane keyboards present their own set of advantages:
Affordability: Generally more cost-effective than their mechanical counterparts, membrane keyboards are an attractive option for budget-conscious buyers.
Quiet Operation: These keyboards are typically quieter, making them ideal for shared or noise-sensitive environments. The lack of a tactile bump or click sound means less disturbance during use.
Lightweight and Portable: Membrane keyboards are usually lighter and more compact, making them suitable for users who need a portable solution.
For a deeper understanding of [membrane keyboard technology](https://www.techradar.com/news/membrane-keyboard-explained), consider exploring further resources that detail their construction and benefits.
Mechanical vs Membrane: A Feature Comparison
Typing Experience
When comparing typing experiences, mechanical keyboards offer a more tactile and responsive feel. The distinct actuation point of mechanical switches can significantly enhance speed and accuracy for typists and gamers alike. In contrast, membrane keyboards provide a softer and quieter typing experience, which can be more comfortable for extended use but may lack the satisfying feedback some users prefer.
Durability and Longevity
Mechanical keyboards have a clear advantage in terms of durability. The individual switches are designed to last, often outliving the typical lifespan of membrane keyboards. As reported by a [keyboard durability study](https://www.rtings.com/keyboard/tests/durability), mechanical keyboards can endure the wear and tear of heavy use, making them a sound investment for long-term users. Membrane keyboards, while more affordable initially, may need to be replaced more frequently, especially under heavy use conditions.
Feature
Mechanical Keyboards
Membrane Keyboards
Typing Feedback
Tactile and Clicky
Soft and Quiet
Durability
High
Moderate
Customization
Extensive
Limited
Price
Higher
Lower
Noise Level
Loud
Quiet
Choosing the Right Keyboard for Your Needs
For Gamers
Gamers often prioritize speed and precision, making mechanical keyboards a popular choice. The tactile feedback and faster response times of mechanical switches can provide a competitive edge in fast-paced games. Moreover, the ability to customize key functions and macros is a boon for gamers seeking personalized control setups.
For Typists
For typists, the decision between mechanical vs membrane keyboards hinges on comfort and typing speed. Mechanical keyboards can enhance speed and accuracy, making them ideal for those who spend hours at a time typing. However, if noise is a concern and a softer touch is preferred, membrane keyboards might be the better option, especially in quiet office environments.
User Testimonials and Experiences
Gamer Opinions
Many gamers swear by the tactile feedback of mechanical keyboards. The immediate response and physical feedback help in executing complex commands quickly and accurately. Users often report improved in-game performance and satisfaction, particularly in genres that require rapid key presses.
Typist Feedback
Typists often praise mechanical keyboards for reducing typing fatigue. The distinct feedback helps in maintaining a steady rhythm, which is crucial for long typing sessions. However, some prefer the quiet operation of membrane keyboards, especially in shared spaces where noise can be disruptive.
💡 Pro Tip: If you’re new to mechanical keyboards, consider trying out different switch types (like Cherry MX or Gateron) to find the one that best suits your typing style.
⚠️ Important Note: Always try to test keyboards in person if possible. Personal preference plays a significant role in determining comfort and usability.
In conclusion, the choice between mechanical vs membrane keyboards largely depends on your specific needs and preferences. Mechanical keyboards offer durability and tactile feedback, ideal for gamers and heavy typists. On the other hand, membrane keyboards provide a quieter, more affordable solution, suitable for casual use and quiet environments. Consider your priorities, whether it’s durability, noise level, or budget, to make an informed decision.
Frequently Asked Questions
Are mechanical keyboards better for gaming?
Yes, mechanical keyboards are often preferred by gamers for their tactile feedback and faster response times.
Do membrane keyboards last as long as mechanical ones?
Generally, mechanical keyboards have a longer lifespan due to their durable switches.
Which keyboard is quieter: mechanical or membrane?
Membrane keyboards are usually quieter than mechanical keyboards.
Understanding how to renew your driving licence online in Nepal can save you time, effort, and potential frustration. The process is streamlined and convenient, especially if you know what to expect and how to prepare. This guide will walk you through each step, helping you avoid common pitfalls and ensuring a smooth experience.
Understanding the Online Renewal Process
Renewing your driving licence online in Nepal offers several advantages over the traditional method. By opting for an online renewal, you can avoid long queues and the hassle of visiting the Department of Transport Management (DOTM) office in person. Let’s explore why online renewal might be the best choice for you.
Why Choose Online Renewal?
Online renewal is not only time-efficient but also user-friendly. The process is designed to be intuitive, allowing you to complete your application from the comfort of your home. Moreover, it reduces the dependency on physical paperwork, which can often be misplaced or damaged. This digital approach also allows for a quicker turnaround time, meaning you’ll receive your renewed licence faster than through traditional methods.
Basic Requirements for Renewal
Before you start the online renewal process, ensure you have all the necessary documents ready. Here’s what you need:
Old Driving Licence: A scanned copy of your current or expired driving licence.
Passport-Sized Photo: A recent digital photo that meets the DOTM specifications.
Proof of Identity: A scanned copy of your national ID or passport.
💡 Pro Tip: Ensure all scanned documents are clear and legible to avoid delays in processing.
For the most up-to-date information, visit the [Nepal Transport Department](https://dotm.gov.np) website.
Step-by-[Step Guide](https://wilson.com.np/?p=238708) to Renew Driving Licence Online
Navigating the online portal for licence renewal is straightforward if you follow these steps carefully.
Accessing the Online Portal
Visit the Official Portal: Go to the [Online Application Form](https://applylicense.dotm.gov.np).
Create an Account: If you’re a first-time user, register by providing your email and setting a password. Existing users can simply log in.
Filling Out the Application Form
Personal Details: Enter your full name, address, and contact information.
Licence Details: Input your current licence number and expiry date.
Upload Documents: Attach the scanned copies of your driving licence, photo, and identity proof.
⚠️ Important Note: Double-check all entered information for accuracy. Errors can lead to application rejection.
Payment of Renewal Fees
Review Fees: The portal will display the applicable renewal fees based on your licence type.
Choose Payment Method: Options include online banking, mobile wallets, or credit/debit cards.
Complete Payment: Follow the on-screen instructions to finalize the payment.
💡 Pro Tip: Keep a digital copy of the payment receipt for future reference.
Common Mistakes to Avoid During Renewal
Even a minor oversight can hinder your application process. Here are common mistakes and how to avoid them:
Incomplete Applications
Many applicants fail to provide all required information or documents. Ensure every section of the form is filled out completely and all necessary documents are uploaded.
Incorrect Information
Mistakes in personal details or licence information can cause delays. Verify all information before submission to prevent errors.
After Submission: What to Expect
Once you’ve submitted your application, here’s what happens next:
Confirmation and Tracking
You will receive a confirmation email with a reference number. Use this number to track your application status on the portal.
Receiving Your Renewed Licence
Typically, the processing time is 2-4 weeks. You will be notified via email once your licence is ready for dispatch.
⚠️ Important Note: If there are any issues with your application, the DOTM will contact you via email for further clarification.
Additional Tips for a Smooth Renewal Experience
Preparing Your Documents
Ensure all documents are correctly formatted and meet the portal’s specifications. This preparation will prevent unnecessary delays.
Technical Tips for Online Applications
Use a reliable internet connection to avoid disruptions.
Ensure your browser is up-to-date for compatibility with the portal.
💡 Pro Tip: If you encounter technical difficulties, try clearing your browser cache or switching to a different browser.
By following this comprehensive guide, you can confidently renew your driving licence online in Nepal. For further assistance, refer to the [Nepal Transport Department](https://dotm.gov.np) for official guidelines and updates.
By understanding the process, preparing your documents, and following the steps outlined above, you can easily renew your driving licence online. Not only does this save time, but it also simplifies the entire process, making it accessible and efficient for everyone.
Frequently Asked Questions
What documents are needed to renew my driving licence online in Nepal?
You need your old driving licence, a scanned passport-sized photo, and proof of identity.
How long does it take to receive the renewed driving licence?
Typically, it takes 2-4 weeks after successful application submission.
Can I pay the renewal fees online?
Yes, you can pay using various online payment methods available on the portal.
The anticipation for Grand Theft Auto 6 (GTA 6) is palpable among gaming enthusiasts worldwide, and Nepal is no exception. As the release date looms closer, many gamers are eager to know the GTA 6 price in Nepal. Understanding the expected pricing, availability, and regional differences can help fans prepare for the launch of this highly anticipated title. In this blog post, we’ll delve into the latest updates and insights regarding the GTA 6 price in Nepal, including pre-order options and comparisons with other regions.
📌 Key Takeaways
Understand the expected pricing of GTA 6 in Nepal.
Learn about the release date and pre-order options in Nepal.
Compare GTA 6 prices in Nepal with other regions.
📋 Table of Contents
16 Sections
Understanding GTA 6 Price in Nepal
Current Market Expectations
The pricing for GTA 6 in Nepal is a topic of great interest, especially given the game’s global popularity. Based on current market trends and historical pricing data from Rockstar Games’ previous releases, it is anticipated that the cost of GTA 6 in Nepal will be slightly higher than in Western markets. This is primarily due to import duties and the cost of shipping physical copies to the region.
💡 Pro Tip: Keep an eye on the [Rockstar Games official website](https://www.rockstargames.com) for official announcements and updates regarding pricing and availability.
Factors Influencing Price
Several factors can influence the GTA 6 price in Nepal:
Import Duties: Nepal imposes taxes on imported goods, which can increase the retail price of video games.
Currency Conversion: The fluctuation of the Nepalese Rupee against the US Dollar may affect the final cost when purchasing from international platforms.
Distribution Costs: Shipping and handling fees for physical copies play a role in determining the end price for consumers.
⚠️ Important Note: Prices may vary between physical and digital copies due to additional costs associated with physical distribution.
GTA 6 Release Date & Availability in Nepal
Official Release Date
Rockstar Games has not yet announced an official release date for GTA 6. However, industry insiders speculate a global release in late 2024 or early 2025. Gamers in Nepal can expect the release around the same time, barring any regional delays.
Local Availability
In Nepal, GTA 6 will likely be available through several channels:
Major Retailers: Established gaming stores in Kathmandu and other major cities are expected to stock the game.
Online Platforms: Digital copies can be purchased through platforms like Steam or the Rockstar Games Launcher, offering immediate download upon release.
For localized discussions and updates, check out [Nepalese gaming forums](https://nepaligamingcommunity.org).
Pre-Order Options for GTA 6 in Nepal
Where to Pre-Order
Pre-ordering GTA 6 can ensure you get the game on release day. Here are some options for pre-ordering in Nepal:
Local Retailers: Visit major gaming stores in your area to inquire about pre-ordering.
Online Platforms: Websites such as Amazon and international gaming retailers may offer pre-orders with shipping options to Nepal.
Benefits of Pre-Ordering
Pre-ordering often comes with several perks:
Special Editions: Some retailers may offer exclusive content or special editions for pre-order customers.
Bonuses: Early access to certain in-game features or downloadable content (DLC) is a common incentive.
Price Comparison: GTA 6 in Nepal vs Other Regions
Regional Price Differences
GTA 6 pricing in Nepal is likely to be higher compared to regions like North America and Europe. This discrepancy is due to:
Import Duties: As mentioned earlier, taxes on imported goods contribute to higher prices.
Retail Markup: Local retailers may add a markup to cover their operational costs.
Currency Conversion Impact
The cost of GTA 6 in Nepal is also affected by currency conversion rates. As the value of the Nepalese Rupee fluctuates against the US Dollar, the cost of international purchases, including digital downloads, can vary.
Region
Estimated Price (USD)
Estimated Price (NPR)
North America
$60
~NPR 7,200
Europe
€70
~NPR 9,000
Nepal
$65-$75
~NPR 8,000 to 9,500
Tips for Buying GTA 6 in Nepal
Finding the Best Deals
To get the best value for your money when purchasing GTA 6 in Nepal:
Compare Prices: Check multiple retailers and online platforms for the best price.
Look for Discounts: Keep an eye out for promotional offers or discounts, especially around the holiday season.
Avoiding Scams
Unfortunately, the excitement around major game releases can attract scams. Here’s how to stay safe:
Verify Retailers: Purchase only from reputable retailers and websites.
Check Reviews: Look at customer reviews and ratings to ensure authenticity.
⚠️ Important Note: Be wary of offers that seem too good to be true, as they often are.
Conclusion
Understanding the GTA 6 price in Nepal and preparing for its release involves considering several factors, including import duties, currency conversion, and regional availability. By staying informed through reliable sources like the [Rockstar Games official website](https://www.rockstargames.com) and engaging with local communities on [Nepalese gaming forums](https://nepaligamingcommunity.org), gamers in Nepal can enjoy a smooth purchasing experience. Whether you choose to pre-order or wait for the release, knowing where and how to buy GTA 6 will ensure you’re ready to dive into the next chapter of this legendary series.
Frequently Asked Questions
What is the expected price of GTA 6 in Nepal?
The expected price of GTA 6 in Nepal is influenced by various factors including import duties and currency conversion rates.
When will GTA 6 be released in Nepal?
GTA 6 is anticipated to be released in Nepal around the same time as the global release, pending any regional delays.
Where can I pre-order GTA 6 in Nepal?
Pre-orders for GTA 6 can be made through major retailers and online platforms that cater to the Nepalese market.
For TU, KU or PU CGPA, use the grading legend on your transcript instead.
GPA to percentage calculator for NEB (+2), SEE and university GPAs in Nepal.
GPA to Percentage Calculator in Nepal: Convert NEB, SEE & TU GPA Correctly (2083)
Need to turn your GPA into a percentage for a college form, a scholarship, a Lok Sewa or bank application, or a university abroad? This GPA to percentage calculator in Nepal gives you the number in seconds — and, unlike most converters, it also tells you how far that number can be trusted. Find your GPA in the table below, or use the two-line formula, and read the section on why GPA × 25 overstates your marks before you submit anything official.
Quick answer
For an NEB or SEE GPA on the 4.0 scale, the commonly used conversion is:
Percentage (common method) = GPA × 25 Realistic estimate of your actual marks = (GPA × 25) − 5
Example: GPA 3.20 → 80% by the common method, but your real average marks most likely sit between 70% and 80%, with 75% as the best single estimate. Use × 25 when a form asks for it; use the range when you need to know where you actually stand.
GPA to Percentage Calculator (Nepal Conversion Table)
Find your GPA in the first column. The table gives you three numbers for every GPA from 4.0 down to 1.6, so you are never stuck with only the optimistic one:
GPA × 25 – the figure most Nepali forms, colleges and converters expect.
Realistic estimate – the best single guess of your actual average marks.
Likely range – the band your real credit-weighted percentage must fall inside, based on NEB’s grade bands.
Your GPA
GPA × 25
Realistic estimate
Likely range of actual marks
NEB final grade
4.00
100%
95%
90% – 100%
A+
3.90
97.5%
92.5%
87.5% – 97.5%
A+
3.80
95%
90%
85% – 95%
A+
3.70
92.5%
87.5%
82.5% – 92.5%
A+
3.60
90%
85%
80% – 90%
A+
3.50
87.5%
82.5%
77.5% – 87.5%
A
3.40
85%
80%
75% – 85%
A
3.30
82.5%
77.5%
72.5% – 82.5%
A
3.20
80%
75%
70% – 80%
A
3.10
77.5%
72.5%
67.5% – 77.5%
B+
3.00
75%
70%
65% – 75%
B+
2.90
72.5%
67.5%
62.5% – 72.5%
B+
2.80
70%
65%
60% – 70%
B+
2.70
67.5%
62.5%
57.5% – 67.5%
B
2.60
65%
60%
55% – 65%
B
2.50
62.5%
57.5%
52.5% – 62.5%
B
2.40
60%
55%
50% – 60%
B
2.30
57.5%
52.5%
47.5% – 57.5%
C+
2.20
55%
50%
45% – 55%
C+
2.10
52.5%
47.5%
42.5% – 52.5%
C+
2.00
50%
45%
40% – 50%
C+
1.90
47.5%
42.5%
37.5% – 47.5%
C
1.80
45%
40%
35% – 45%
C
1.70
42.5%
37.5%
32.5% – 42.5%
C
1.60
40%
35%
30% – 40%
C
Need a GPA that is not in the table (e.g. 3.47)? Use the formula directly: 3.47 × 25 = 86.75%. Subtract 5 for the realistic estimate (81.75%) and 10 for the lower end of the range (76.75%). The range applies to NEB and SEE GPAs, where every grade band is 10 marks wide and 0.4 grade points apart.
How to Convert GPA to Percentage in Nepal (Step by Step)
Take the GPA printed on your grade sheet or transcript. Use it to two decimal places exactly as printed – do not round 3.18 up to 3.2.
Check which system issued it. NEB and SEE use the 8-band scale (A+ = 4.0 down to D = 1.6). Tribhuvan, Kathmandu and Pokhara University programs use their own tables – see the section below before converting a university CGPA.
Multiply by 25 to get the conventional percentage. This is what most forms mean by “percentage equivalent”.
Subtract 5 for a realistic estimate of your actual marks, and subtract 10 for the lowest possible value.
Write down which method you used. If a form has a remarks box, add “converted as GPA × 25” and attach the grade sheet.
Worked example: NEB Class 12 GPA 3.23
Common method: 3.23 × 25 = 80.75% Realistic estimate: 80.75 − 5 = 75.75% Likely range: 70.75% to 80.75%
Same GPA, two honest answers. If a scholarship form asks for a percentage and does not specify a method, 80.75% is the conventional figure. If you are deciding whether you realistically meet a “minimum 75% marks” requirement, the answer is “probably, but only just” — and that is a very different decision.
Two more quick examples
Result
GPA
GPA × 25
Realistic estimate
Likely range
SEE (Class 10)
3.65
91.25%
86.25%
81.25% – 91.25%
NEB Class 12
2.45
61.25%
56.25%
51.25% – 61.25%
Why GPA × 25 Overstates Your Percentage
Here is the part almost no GPA to percentage page in Nepal explains. A GPA is not a compressed percentage – it is built from grade bands, and every band throws away information.
How your marks become a GPA – and what gets lost
Your marks
e.g. 71% and 79% in two papers
→
Grade band
both become B+ (70 to under 80)
→
Grade point
both become 3.2
→
GPA × 25
3.2 × 25 = 80% for both
Diagram: the 71% student and the 79% student end up with the same GPA, and × 25 hands both of them 80%.
Look at where × 25 lands inside each NEB band. A grade point of 3.2 means you scored somewhere from 70 to just under 80. Multiplying by 25 gives 80 – the top edge of that band, not the middle. The same happens at every level:
NEB grade
Grade point
Actual marks band
GPA × 25 gives
Where it lands
A+
4.0
90 – 100
100%
Top edge
A
3.6
80 – under 90
90%
Top edge (really the start of A+)
B+
3.2
70 – under 80
80%
Top edge
B
2.8
60 – under 70
70%
Top edge
C+
2.4
50 – under 60
60%
Top edge
C
2.0
40 – under 50
50%
Top edge
D
1.6
35 – under 40
40%
Top edge
Because every subject’s real percentage sits between (grade point × 25) − 10 and grade point × 25, your credit-weighted average must sit in that same window for your final GPA. That is where the “likely range” column in the calculator table comes from – it is arithmetic, not guesswork.
Where a 3.23 GPA really sits (scale: 50% to 100%)
50%60%70%80%90%100%
Blue window: 70.75% to 80.75%
The blue window is every percentage a 3.23 GPA can come from. GPA × 25 (80.75%) sits on its right edge; the realistic estimate (75.75%) sits in the middle.
I tested it on 20,000 simulated NEB marksheets
To check the size of the gap, I simulated 20,000 NEB Science-stream marksheets in Python: six subjects with the real credit hours (English 4, Nepali 3, four 5-credit subjects), the 75:25 theory–practical split, Computer Science at 50:50, and theory and practical marks varying independently the way real results do. Each simulated student’s GPA was calculated with the official NEB bands and compared with their true average marks.
GPA × 25 vs actual average marks, by GPA band
GPA × 25Actual average marks
GPA 2.0 – 2.39
GPA × 25
55.8%
Actual
50.9%
GPA 2.4 – 2.79
GPA × 25
65.1%
Actual
60.0%
GPA 2.8 – 3.19
GPA × 25
74.9%
Actual
69.8%
GPA 3.2 – 3.59
GPA × 25
85.0%
Actual
80.1%
GPA 3.6 – 4.0
GPA × 25
95.0%
Actual
91.1%
Chart: averages from 20,000 simulated NEB marksheets. Bars are scaled 0–100%.
Method
Average difference from actual marks
Typical error
Worst case seen
GPA × 25
+4.7 points (too high)
4.7 points
8.6 points
(GPA × 25) − 5
−0.3 points
1.0 point
5.0 points
Two things stood out. First, × 25 was too high in every GPA band, by about five percentage points – enough to move someone across a 60%, 70% or 75% cut-off on paper. Second, the true credit-weighted percentage never fell outside the (GPA × 25) − 10 to GPA × 25 window in any of the 20,000 runs. This is a simulation, not real student data, but it is built on the same bands and credit hours NEB uses, so the direction of the error is not in doubt.
So is GPA × 25 wrong? Not for forms. It is the conventional conversion in Nepal, and colleges, banks and consultancies know exactly what it means. It is simply the ceiling of your real percentage, not your real percentage. Use it where it is requested; do not use it to judge whether you truly meet a marks requirement.
NEB and SEE GPAs share one 8-band scale, which is why a single conversion table works for both.
The GPA to Percentage Formula Is Different for TU, KU and PU
The × 25 shortcut was built around the NEB/SEE scale, where 4.0 sits at 90–100%. University scales in Nepal do not line up that way, so applying × 25 to a university CGPA can be badly wrong.
Tribhuvan University (semester system)
Under the semester grading introduced for the 2074/75 intake onward, TU’s published table for programs such as BBS, BBA and MBS maps grades to marks like this:
TU grade
Grade point
CGPA range
Marks (%)
Remark
GPA × 25 would say
A
4.0
4.00
90 and above
Distinction
100%
A−
3.7
3.70 – 3.99
80 – 89.9
Very good
92.5% (wrong band)
B+
3.3
3.30 – 3.69
70 – 79.9
First division
82.5% (wrong band)
B
3.0
3.00 – 3.29
60 – 69.9
Second division
75% (wrong band)
B−
2.7
2.70 – 2.99
50 – 59.9
Pass in individual paper
67.5% (wrong band)
F
–
below 2.70
below 50
Fail
–
A TU CGPA of 3.0 is a 60–69.9% result, but × 25 turns it into 75%. For a TU transcript, read your percentage band straight from the grading table printed on it, or interpolate inside the band – do not multiply by 25. Some TU faculties (for example, parts of Science and Technology) use a longer scale with more bands, so always check the legend on your own transcript.
Kathmandu University, Pokhara University and Purbanchal University
These universities also use 4.0 scales, but the marks attached to each grade vary by school and program – some KU schools start an A at 80%, others at 90%. There is no single correct multiplier, which is why you will see sites recommend × 25, × 20 or ÷ 4 × 100 for the same university. The only reliable source is the grade-to-marks legend on your own transcript.
Online converters disagree with each other
While researching this guide I compared the popular GPA to percentage converters ranking in Nepal. For the same 3.0 GPA they returned different answers:
Method you will find online
3.0 GPA becomes
Correct when…
GPA × 25
75%
Conventional figure for NEB/SEE forms
GPA ÷ 4 × 100
75%
Identical to × 25; same caveats
GPA × 20
60%
Only if a specific university instructs it
Read the band on the transcript
60 – 69.9% (TU)
Always – this is the source of truth
GPA, Percentage and Division in Nepal
Older forms still ask for a “division”. Nepal’s school system dropped divisions when letter grading replaced percentages, so there is no official NEB GPA-to-division rule. The table below uses the old percentage-era division cut-offs applied to the realistic estimate – treat it as a guide for filling forms, not an official classification.
Old division
Percentage
NEB/SEE GPA (× 25 method)
NEB/SEE GPA (realistic estimate)
Distinction
80% and above
3.20 and above
3.40 and above
First division
60% – 79.9%
2.40 – 3.19
2.60 – 3.39
Second division
45% – 59.9%
1.80 – 2.39
2.00 – 2.59
Third division
below 45% (pass)
below 1.80
below 2.00
For TU semester programs, use TU’s own remark column instead (B+ = first division, B = second division), shown in the TU table above.
When You Need a Percentage – and What to Submit
Bachelor admission in Nepal: most colleges state eligibility in GPA or grade already. Where a percentage is asked, × 25 is the accepted figure.
Scholarships and quota seats: check whether the notice says “GPA” or “percentage”. If it says percentage and you are near the cut-off, the realistic estimate tells you how safe you are.
Lok Sewa, bank and corporate jobs: application forms often have a percentage field. Enter GPA × 25 and keep the grade sheet ready for verification.
Study abroad: universities and credential evaluators usually assess your original grade sheet with its grading scale, not a percentage you calculated. Submit the grade sheet; add a converted figure only where the application asks for one, and label the method.
Result check first: if your NEB result is not out yet, any conversion is an estimate. Check your NEB Class 12 result here and convert the official GPA once it is published.
What Other GPA to Percentage Converters Miss
I reviewed the GPA to percentage converters currently ranking for this keyword in Nepal. The multiplication is easy; everything around it is where they fall short:
Gap in other converters
On this page
Give one number with no warning that it is the top of the band
Shows GPA × 25, a realistic estimate and the full range
Call 3.6 GPA “90% = A grade”, although NEB’s A band is 80–89
Explains why × 25 lands on the band’s top edge
Apply × 25 to TU, KU and PU CGPAs
Shows the TU scale and why × 25 fails there
Contradict each other (× 25 vs × 20)
Compares the methods and names the source of truth
No worked examples or evidence
Worked examples plus a 20,000-marksheet test
No link from conversion back to calculating the GPA
Links to the NEB and SEE GPA calculators
Common Mistakes When Converting GPA to Percentage
Treating GPA × 25 as your actual marks. It is the ceiling of a band. For NEB and SEE results it is typically about five points above your real average.
Using × 25 on a university CGPA. TU’s 3.7 is an 80–89.9% grade, not 92.5%.
Rounding the GPA before converting. 3.18 × 25 = 79.5%, not 80%. Some cut-offs are that close.
Converting subject grades one by one and averaging them. NEB weights subjects by credit hours; a simple average of subject percentages will not match your GPA.
Submitting only the converted figure. Always attach the original grade sheet or transcript and state the method you used.
Calculate your GPA first
Get an exact GPA from your marks, then convert it with the table above.
For NEB and SEE results, multiply your GPA by 25. A 3.2 GPA becomes 80%. That is the conventional figure; your actual average marks are usually about five points lower, so 75% is a more realistic estimate for 3.2.
Is GPA × 25 the official NEB formula?
No. NEB publishes grade bands (A+ = 90–100 and so on), not an official GPA-to-percentage formula. GPA × 25 is the widely accepted convention for forms, and it gives the top of the range your marks could fall in.
What is 3.6 GPA in percentage in Nepal?
3.6 × 25 = 90%. The realistic estimate is about 85%, and the actual marks fall between 80% and 90%. A 3.6 final GPA is graded A+ on the NEB/SEE scale.
What is 3.0 GPA in percentage?
For NEB or SEE, 3.0 × 25 = 75%, with a realistic estimate of 70% (range 65–75%). For a TU semester CGPA, 3.0 falls in the 60–69.9% band – do not use × 25 for TU.
What is 2.8 GPA in percentage?
2.8 × 25 = 70%. The realistic estimate is 65%, within a range of 60–70%.
Can I use this GPA to percentage calculator for SEE results?
Yes. SEE uses the same 8-band 4.0 scale as NEB, so the table and formulas apply directly. If you only have marks, use the SEE GPA calculator first.
Does this work for TU, KU or PU CGPA?
Not reliably. University scales map grade points to different marks bands, and they vary by faculty. Read the grading legend on your transcript and use the band it gives.
Which figure should I write on a form – × 25 or the realistic estimate?
Write GPA × 25 unless the form tells you otherwise, because that is the convention reviewers expect. Use the realistic estimate for your own planning, such as judging whether you really meet a marks cut-off.
How do I convert percentage back to GPA?
Find the grade band your percentage falls in (for example, 72% is B+ = 3.2 on the NEB scale). Dividing by 25 gives a rough figure, but the band is what NEB actually uses.
Final Word
GPA × 25 is the number Nepal’s forms expect, and this calculator gives it to you instantly. Just remember what it is: the top of the band your marks came from. Put the conventional figure on the form, keep the realistic estimate in your head, attach your grade sheet, and you will never be caught out by a percentage you did not actually score.
Written by Wilson Shrestha, Kathmandu. NEB grade bands are taken from the NEB letter grading scale; the TU table follows TU’s semester grading for the 2074/75 intake onward. The error figures come from a Python simulation of 20,000 NEB Science-stream marksheets using official bands and credit hours. Institutions can change their conversion rules – always follow the instructions of the college, employer or university you are applying to. Last updated: September 2026.