Best Email Marketing Software in 2026: 10 Tools Compared (Free Plans, Prices & Picks)
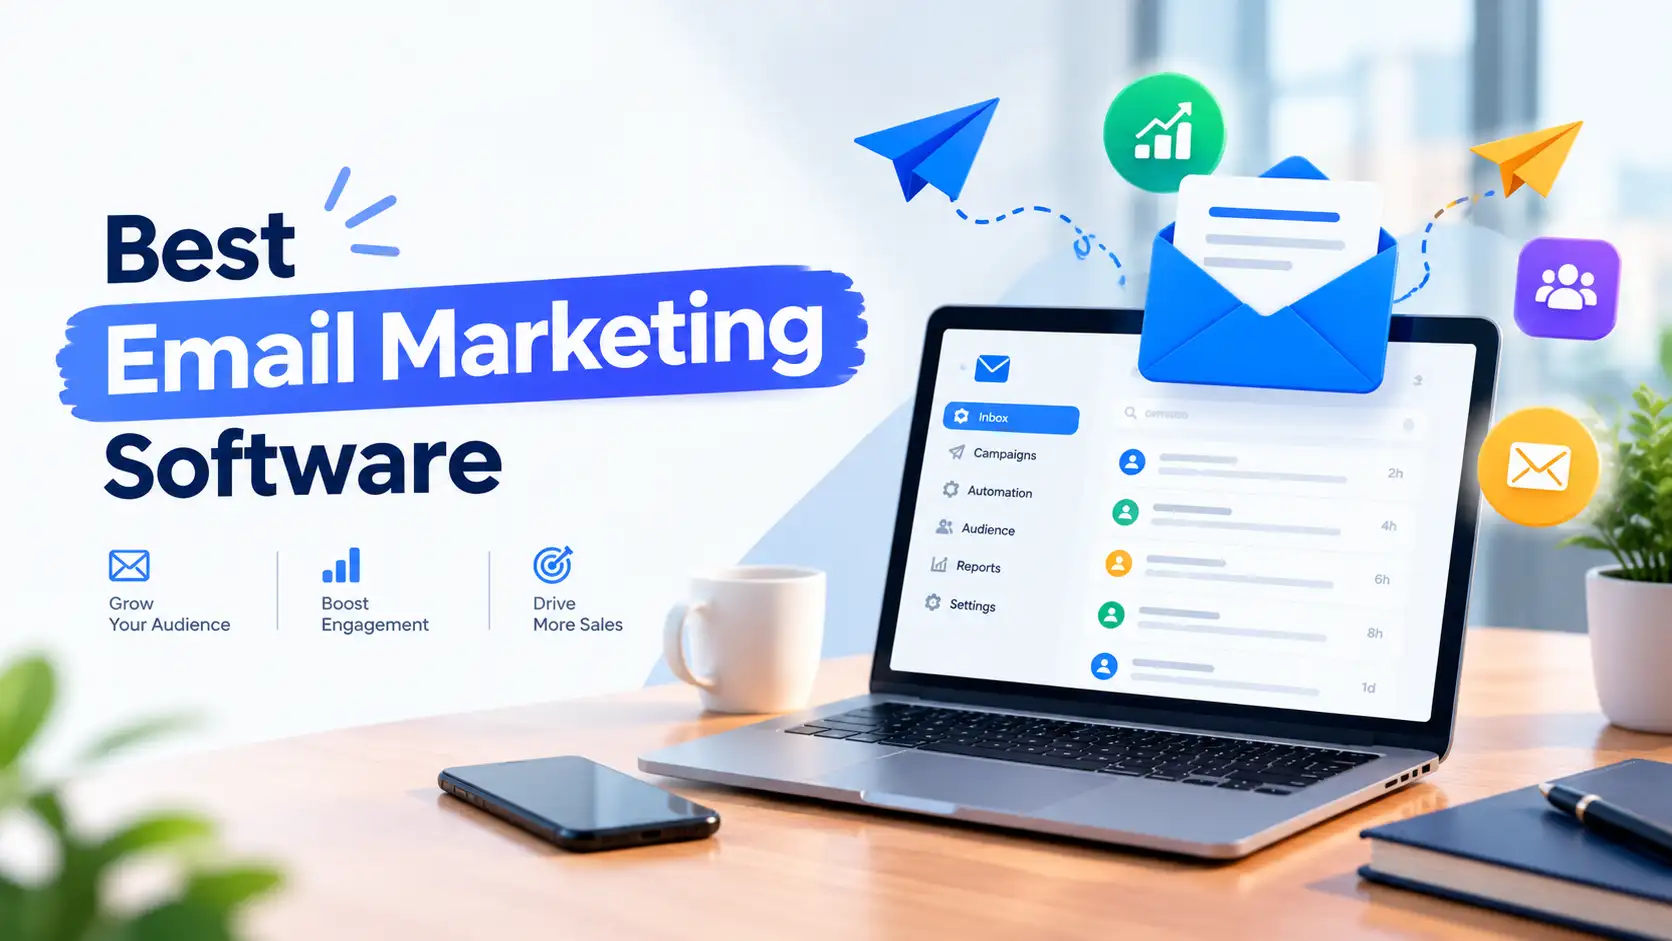
Best Email Marketing Software in 2026: 10 Tools Compared (Free Plans, Prices & Picks)
Last updated: October 2026 · Prices checked against providers’ published plan details and independent pricing trackers
Choosing the best email marketing software got harder in 2026. Several big names quietly shrank their free plans, renamed their paid tiers and changed how they count your contacts. Many “best of” lists still quote 2024 numbers, which means you could sign up expecting 1,000 free subscribers and hit a wall at 250.
This guide compares 10 email marketing platforms on what actually decides your bill: the current free-plan limits, the entry price, and the pricing model behind it. You will also find a decision chart, a deliverability checklist for Gmail and Yahoo’s sender rules, and a section for readers in Nepal who pay with a prepaid dollar card.
Quick answer: our top picks
- Best overall value: Brevo – pay per email sent, not per contact; email, SMS and WhatsApp in one place.
- Best for beginners: MailerLite – the cleanest editor and a visual automation builder on every plan.
- Best for creators and newsletters: Kit – free for up to 10,000 subscribers.
- Best for online stores: Klaviyo (bigger budgets) or Omnisend (tighter budgets).
- Best for advanced automation: ActiveCampaign.
- Most generous free plan: Sender – 2,500 subscribers and 15,000 emails a month.
Key Takeaways
- Free plans got much smaller in 2026: Mailchimp now allows 250 contacts and 500 sends a month, and MailerLite 250 subscribers and 2,500 emails.
- The pricing model matters more than the starting price. Per-contact tools get expensive as your list grows; per-send tools (like Brevo) stay cheap for large lists you email occasionally.
- Mailchimp bills for unsubscribed and non-subscribed contacts too, unless you archive them.
- Whatever tool you pick, Gmail and Yahoo expect SPF, DKIM and DMARC on your sending domain, one-click unsubscribe, and a spam-complaint rate below 0.3%.
- In Nepal, a prepaid dollar card is capped at USD 500 a year, so a tool’s annual price can decide whether you can afford it at all.
The 2026 Reality Check: Free Plans Have Shrunk
Most competing articles skip this, but it changes which tool is “best” for a small business. In January 2026 Mailchimp cut its free plan from 500 contacts and 1,000 sends to 250 contacts and 500 sends per month, with a daily limit of 250. In June 2026 MailerLite renamed its plans to Comfort and Power and cut its free plan from 500 to 250 subscribers, with the monthly email allowance falling from 12,000 to 2,500.
Here is how much you can actually send each month without paying, based on each free plan’s published limits:
Free-plan monthly email allowance (2026)
Kit is left out of the chart because its free Newsletter plan is limited by subscribers (up to 10,000) rather than a monthly send cap. Brevo and Zoho figures are approximate monthly equivalents.
Best Email Marketing Software: Comparison Table
| Tool | Best for | Free plan (2026) | Paid from | Billed by |
|---|---|---|---|---|
| Brevo | Overall value, SMS & WhatsApp | 300 emails/day, up to 100,000 contacts | $9/mo (Starter) | Emails sent |
| MailerLite | Beginners | 250 subscribers, 2,500 emails/mo | $12/mo (Comfort) | Active subscribers |
| Kit | Creators, newsletters | Up to 10,000 subscribers | $39/mo ($33 yearly) | Subscribers |
| Mailchimp | Integrations, brand familiarity | 250 contacts, 500 emails/mo | $13/mo (Essentials) | All stored contacts |
| Klaviyo | Shopify & ecommerce | 250 profiles, 500 emails/mo, 150 SMS credits | $20/mo (Email) | Active profiles |
| Omnisend | Budget ecommerce | 250 contacts, 500 emails/mo | $16/mo (Standard) | Contacts |
| ActiveCampaign | Advanced automation + CRM | None (14-day trial) | $15/mo yearly ($19 monthly) | Contacts |
| Sender | Largest free plan | 2,500 subscribers, 15,000 emails/mo | $7/mo yearly ($10 monthly) | Subscribers |
| Zoho Campaigns | Teams on Zoho CRM | About 2,000 contacts, 6,000 emails/mo | Contact-tiered | Contacts |
| HubSpot | CRM-first teams | 1,000 contacts, 2,000 emails/mo | $20/mo (Starter) | Marketing contacts |
How We Chose These Tools
We looked at the platforms that keep appearing at the top of 2026 reviews and buyer directories, then judged each one on six things a small business actually feels:
- Real free-plan limits after the 2025–2026 cuts, not the old marketing numbers.
- Entry price and how fast it scales as your list grows.
- Pricing model – contacts, active subscribers or emails sent.
- Automation depth – welcome series, abandoned carts, branching.
- Ease of use for someone without a marketing team.
- Practicality outside the US, including paying in USD from countries like Nepal.
Prices are in USD and reflect the lowest list-size tier. Every provider changes pricing often, so confirm on the official pricing page (linked at the end) before you pay.
Understand the 3 Pricing Models First
Two tools with the same “$15/month” headline can cost very different amounts a year later. The difference is what they bill you for.
1. Per contact
You pay for everyone stored in your account.
Mailchimp, ActiveCampaign, Kit, Omnisend, HubSpot. Mailchimp also counts unsubscribed contacts.
2. Per active subscriber
Only contacts you can still email count.
MailerLite and Klaviyo. Unsubscribed and bounced contacts don’t push up your bill.
3. Per email sent
Unlimited contacts; you pay for send volume.
Brevo. Cheapest when you have a big list but email it only a few times a month.
The 10 Best Email Marketing Software Tools in 2026
1. Brevo – Best Overall Value
Brevo (formerly Sendinblue) charges for the number of emails you send, not the number of contacts you keep. The free plan lets you store up to 100,000 contacts and send 300 emails a day, and it already includes transactional email – something many rivals lock behind paid plans. Paid plans start at $9/month (Starter), with marketing automation and A/B testing on Standard from $18/month. A Professional tier from $499/month is aimed at high-volume senders.
Pros
- Unlimited contacts on every plan
- Email, SMS and WhatsApp in one dashboard
- Transactional email on the free plan
Cons
- 300/day hard cap on free: a 3,000-contact send takes 10 days
- Brevo branding stays on Starter unless you pay an add-on
- Big jump to the Professional tier
Verdict: the best pick for most small businesses with a large list and a few campaigns a month, or anyone who also wants SMS.
2. MailerLite – Best for Beginners
MailerLite is still the easiest tool to learn, with a clean drag-and-drop editor and a visual automation builder even on the free plan. After its June 2026 update the plans are Free, Comfort (from $12/month), Power (from $25/month) and Enterprise. It bills only for active subscribers, so people who unsubscribe or bounce don’t count.
Pros
- Very short learning curve
- Landing pages, websites and digital products built in
- AI writing assistant and smart sending now on Comfort
Cons
- Free plan cut to 250 subscribers and 2,500 emails
- Comfort now caps automations (50), forms and monthly sends
- Higher prices than before at large list sizes
Verdict: best for a first email list when simplicity matters more than advanced features.
3. Kit (formerly ConvertKit) – Best for Creators
Kit has the most generous free plan for audience size: the Newsletter plan is free for up to 10,000 subscribers, with unlimited broadcasts, forms and landing pages. The catch is automation – the free plan is limited to a single automation. Paid plans rose in 2026: Creator from $39/month ($33/month billed yearly) and Pro from $79/month at 1,000 subscribers.
Pros
- Grow to 10,000 subscribers before paying
- Tag-based audience management and sequences
- Built-in tools to sell digital products
Cons
- Highest entry price on this list
- Not built for ecommerce product emails
- Price climbs quickly with list size
Verdict: the obvious choice for bloggers, YouTubers, course creators and newsletter writers.
4. Mailchimp – Best for Integrations and Familiarity
Mailchimp is still the name most people know, with a huge integration library and polished templates. But its free plan is now 250 contacts and 500 sends a month, with no scheduling, no A/B testing and no multi-step automations. Paid plans start at $13/month (Essentials) and $20/month (Standard) for 500 contacts; at 5,000 contacts those become about $75 and $100. Branching journeys require Standard or higher.
Pros
- Integrates with almost everything
- Mature reporting and templates
- Plenty of tutorials and freelancers who know it
Cons
- Counts unsubscribed contacts toward your bill
- Free plan is now more of a demo
- Repeated price increases in 2026
Verdict: fine if you depend on its integrations, but rarely the cheapest option today.
5. Klaviyo – Best for Shopify and Ecommerce
Klaviyo is built around store data: purchase history, browsing behaviour and predicted spend drive its segments and flows. The free plan covers 250 active profiles, 500 emails a month and 150 SMS credits. The Email plan starts at $20/month and Email + SMS at about $35/month. Costs rise steeply – roughly $150/month at 10,000 contacts.
Pros
- Best-in-class ecommerce segmentation
- Revenue attribution per email and flow
- Email, SMS and push in one place
Cons
- Expensive as your list grows
- Auto-upgrades your tier when you exceed limits
- Reviews and analytics modules billed separately
Verdict: worth it when email drives a meaningful share of store revenue.
6. Omnisend – Best Budget Ecommerce Option
Omnisend gives smaller online stores many of Klaviyo’s ideas – abandoned-cart flows, product recommendations, popups – at a lower price. The free plan includes all features but only 250 contacts and 500 emails a month. Standard starts around $16/month with a send limit of 12 times your contacts, and Pro (around $59/month) adds unlimited sends. For accounts that started a paid plan on or after 4 May 2026, SMS is available only on Pro.
Verdict: a strong first ecommerce platform for WooCommerce and Shopify stores that can’t justify Klaviyo yet.
7. ActiveCampaign – Best for Advanced Automation
ActiveCampaign has the deepest automation builder here, plus a built-in CRM, site tracking and lead scoring on higher plans. There is no free plan, only a 14-day trial. At 1,000 contacts, plans cost Starter $15/month (yearly; $19 monthly), Plus $49, Pro $79 and Enterprise $145 on yearly billing. Starter is limited to 5 actions per automation with no branching.
Verdict: best for B2B companies and service businesses that need lead nurturing and sales follow-up in one tool – usually on Plus or higher.
8. Sender – Most Generous Free Plan
Sender’s Free Forever plan covers 2,500 subscribers and 15,000 emails a month, with automation, landing pages, forms and popups included. Emails carry a “Powered by Sender” footer, and A/B testing and SMS need a paid plan. Standard starts at $7/month yearly ($10 monthly) for 1,000 subscribers.
Verdict: the best free option for a small business that needs to send more than one newsletter a month without paying.
9. Zoho Campaigns – Best for Zoho Users
If your team already runs on Zoho CRM, Zoho Forms or Zoho Mail, Zoho Campaigns slots in with almost no setup, and reviewers consistently rate it as good value. Its Forever Free plan has been listed at about 2,000 contacts and 6,000 emails a month; paid Standard and Professional plans are priced by contact tier.
Verdict: choose it for the Zoho integration, not as a standalone first pick.
10. HubSpot – Best for CRM-First Teams
HubSpot’s free tools combine a CRM with basic email marketing: 1,000 contacts and 2,000 marketing emails a month, with HubSpot branding and only a simple follow-up email per form. Starter removes branding, but serious automation sits on Marketing Hub Professional, which costs $800/month plus a $3,000 onboarding fee.
Verdict: great if sales and marketing must share one database; overkill if you only want to send newsletters.
Entry Price Compared (Lowest Paid Tier)
Starting price per month, monthly billing (USD)
Entry tiers cover different list sizes (500 to 1,000 contacts, or 5,000 emails for Brevo), so use this as a starting point, not a like-for-like comparison.
Which Email Marketing Software Should You Choose?
Answer these questions in order and stop at the first “yes”:
↓ No
↓ No
↓ No
↓ No
Worked Example: A 3,000-Contact Online Shop
To see why free-plan headlines can mislead, take a hypothetical Kathmandu clothing store with 3,000 email contacts that wants one newsletter a week plus an abandoned-cart email:
- Mailchimp, Klaviyo, Omnisend, MailerLite free: ruled out – the list is over the 250-contact cap.
- Sender free: ruled out – 3,000 is above the 2,500-subscriber limit.
- Brevo free: technically fits, but at 300 emails a day one newsletter would take 10 days to reach everyone.
- Kit free: fits the list, but it has no ecommerce cart flows.
- Realistic answer: a paid Omnisend or Brevo Standard plan, or Klaviyo once email revenue justifies it.
The lesson: check your list size, sending frequency and must-have automations together before trusting any “free” label.
Buying Email Marketing Software from Nepal
Every tool on this list charges in US dollars, which creates a practical limit most global reviews never mention. Under Nepal Rastra Bank rules, a prepaid dollar card can be used for online payments of up to USD 500 per year. That allowance is shared with your hosting, domain, ads and AI subscriptions. (See our guide to getting a dollar card in Nepal.)
$500
yearly dollar-card limit
≈ $41
per month for all foreign tools
$390
Kit Creator billed yearly (78% of the limit)
Practical tips for Nepali businesses:
- Start on a big free plan – Sender, Brevo or Kit – and upgrade only when the list earns money.
- Prefer monthly billing at first. Yearly plans save money (ActiveCampaign Starter is $15 instead of $19) but use a large slice of your card limit in one payment.
- Schedule campaigns in Nepal time (UTC+5:45); most tools let you set your account time zone.
- Send a test email in Nepali Unicode to Gmail and Outlook before a full campaign to check fonts render correctly.
- If your company earns foreign currency, ask your bank about other card options with higher limits.
You also need somewhere to collect subscribers. If you don’t have a site yet, check our breakdown of website design cost in Nepal, or hire help through our guide to finding a freelance web developer in Nepal to add signup forms and set up your domain’s DNS records. To grow the list faster, pair a lead magnet with Facebook advertising in Nepal.
Deliverability Checklist: Gmail and Yahoo Sender Rules
The best software won’t help if your emails land in spam. Since 2024, Gmail and Yahoo require bulk senders – roughly 5,000 or more messages a day to their personal accounts – to meet these rules, and they are good practice at any volume:
✓ Authenticate your domain with SPF, DKIM and a DMARC record aligned with your From address.
✓ Send from your own domain (you@yourbusiness.com), never from a free @gmail.com address.
✓ Offer one-click unsubscribe on marketing emails and honour opt-outs within two days.
✓ Keep spam complaints below 0.3% – ideally under 0.1%.
✓ Monitor your reputation with Google Postmaster Tools.
All ten tools above walk you through adding the DNS records. If DNS is new to you, it’s a 15-minute job for a developer.
How to Get Started in 7 Steps
- Pick a tool using the decision chart above.
- Verify your sending domain (SPF, DKIM, DMARC).
- Import only opted-in contacts – never buy lists.
- Add a signup form to your website, ideally with a lead magnet such as a discount or free guide.
- Build a welcome series of 2–3 emails that runs automatically.
- Send consistently – a predictable weekly or fortnightly schedule.
- Track clicks and conversions, not just opens, and clean inactive contacts every few months.
Common Mistakes to Avoid
- Choosing on the free plan alone. Moving a list, templates and automations later takes real time.
- Ignoring daily caps. Mailchimp’s free plan allows 250 sends a day and Brevo’s 300, so one campaign can stall.
- Paying for dead contacts. On per-contact tools like Mailchimp, archive unsubscribed and inactive contacts.
- Skipping authentication. Unauthenticated mail is the fastest route to the spam folder.
- Treating email in isolation. Your list grows from search and social traffic too – our best SEO tools guide and Ahrefs vs Semrush vs Ubersuggest comparison help you find the content that brings subscribers in.
Frequently Asked Questions
What is the best email marketing software in 2026?
For most small businesses, Brevo offers the best overall value because it bills by emails sent and allows unlimited contacts. MailerLite is easier for beginners, Kit is best for creators, and Klaviyo or Omnisend suit online stores.
Which email marketing software has the best free plan?
Sender has the most free sending room at 2,500 subscribers and 15,000 emails a month. Kit allows the most free subscribers (up to 10,000) but limits automation, and Brevo lets you store up to 100,000 contacts but caps sends at 300 a day.
Is Mailchimp still free in 2026?
Yes, but the free plan is now limited to 250 contacts and 500 emails a month, with a 250-per-day cap and no scheduling, A/B testing or multi-step automation.
What is the cheapest email marketing software?
Among paid plans, Brevo Starter (from $9/month) and Sender Standard (from $7/month billed yearly) are the cheapest entry points. For large lists that you email only occasionally, Brevo’s per-email pricing usually stays cheapest.
Which email marketing tool is best for ecommerce?
Klaviyo is the most powerful option for Shopify and other online stores, with deep purchase-based segmentation. Omnisend offers similar ecommerce automations at a lower price for smaller stores.
Can I pay for email marketing software from Nepal?
Yes. Most Nepali users pay with a prepaid dollar card issued by a local bank, which is capped at USD 500 a year for online payments. Starting on a free plan and choosing monthly billing helps keep within that limit.
Do I need my own domain for email marketing?
Yes. Gmail and Yahoo expect bulk senders to authenticate with SPF, DKIM and DMARC, which you can only set up on a domain you control. Sending marketing email from a free Gmail address hurts deliverability.
Final Verdict
There is no single best email marketing software for everyone, but there is a best fit for your situation. Start with Brevo if you want the best value and SMS, MailerLite if you want the simplest tool, Kit if you are a creator, Klaviyo or Omnisend if you run an online store, and ActiveCampaign if automation is the core of your marketing.
Whatever you choose, set up domain authentication on day one, start with a welcome series, and re-check pricing every year – 2026 has shown how quickly free plans and prices can change.
Official pricing pages
Brevo ·
MailerLite ·
Kit ·
Mailchimp ·
Klaviyo ·
Omnisend ·
ActiveCampaign ·
Sender ·
Zoho Campaigns ·
HubSpot ·
Google sender guidelines