Blender: Is it Good for 3D Printing?

Blender is good for 3D printing Full information

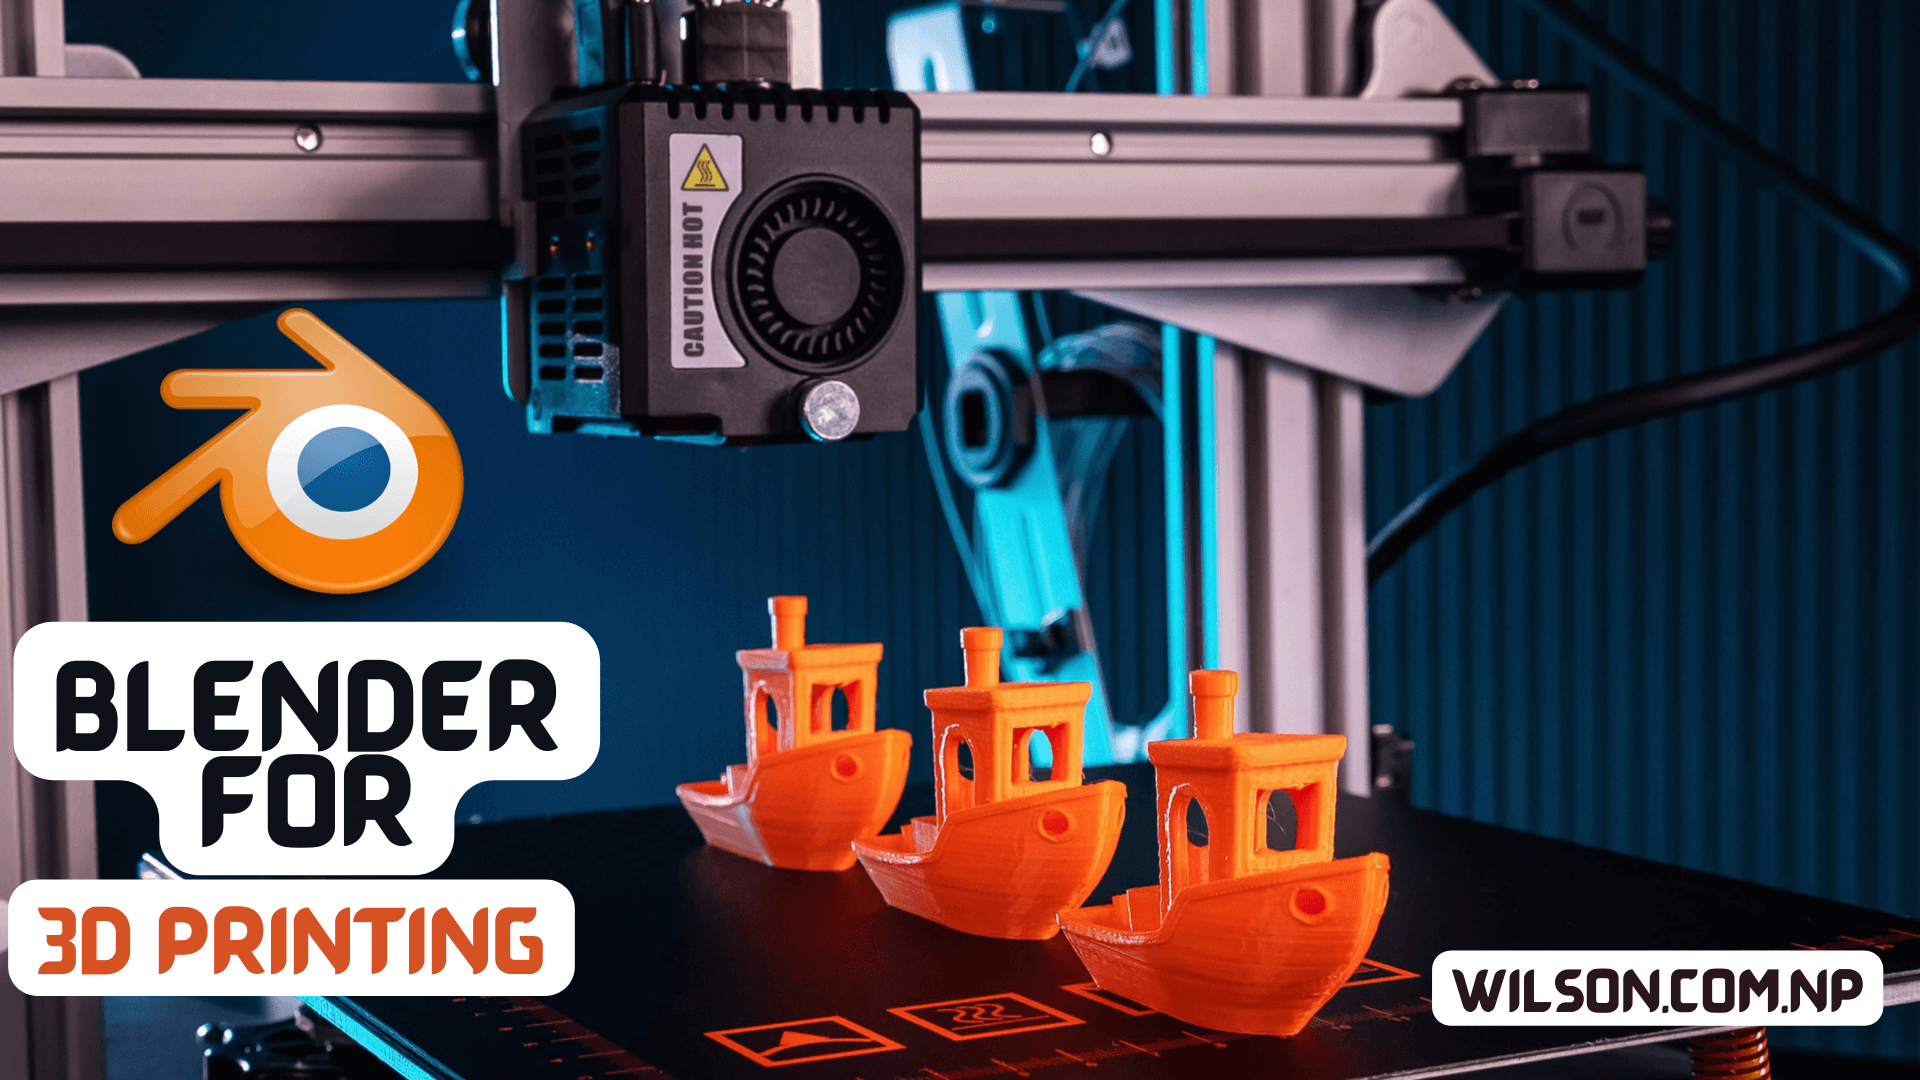
3D printing has taken the world by storm, revolutionizing how we do manufacturing and design. It involves building physical objects from digital files layer by layer using materials like plastic, metal and even food – with increasing popularity comes confusion about if Blender, a 3D graphics software is suitable for 3D printing.

Yes, Blender is an excellent tool for 3D printing – and in this article, we’ll Explain why.

Blender’s 3D Modeling Capabilities

Blender is an impressive 3D modeling software, capable of crafting intricate and complex models suitable for 3D printing. It boasts numerous features that make it ideal for this purpose, such as the capacity to generate organic shapes and precise geometric structures.

One of the key strengths of Blender is its mesh modeling capabilities. Mesh modeling involves creating 3D models by manipulating vertices, edges and faces in three dimensions. Blender has an impressive mesh modeling system that enables precise measurements and detailed designs.

Blender offers a set of sculpting tools that let you easily craft organic forms, like characters and creatures, with ease. These capabilities let you add and remove digital clay for intricate details like wrinkles, bumps, and ridges.

Preparing Models for 3D Printing

Creating 3D models in Blender is only half the battle. To successfully 3D print a model, it needs to be prepared for printing. This involves a process called “slicing,” which involves breaking down the model into layers and creating a set of instructions for the 3D printer to follow.

Blender has several built-in tools that make this process easy. For example, it has a 3D print toolbox that allows you to check your model for errors, such as non-manifold geometry, which can cause printing problems. Blender also has a built-in slicer that allows you to slice your model and generate G-code, which is the language that 3D printers use to print objects.

Blender Now Supports 3D Printing Formats

When it comes to 3D printing, there are several file formats you can use for exporting your models. These include STL, OBJ, and AMF. Blender supports all these formats, making the process of exporting models for printing much simpler.

Blender offers a selection of 3D printing add-ons that make the process even simpler. For instance, the 3D Print Toolbox add-on enables direct export to a printer without the need for extra software.

Conclusion
Blender is an ideal tool for 3D printing, offering its advanced 3D modeling capabilities, convenient preparation tools, and support of popular 3D printing formats. No matter if you’re a novice or an experienced artist in 3D modeling, Blender makes creating 3D models ideal.

Here is Step by Step Process for 3d Printing in Blender

Step 1: Construct Your Model
To begin, design a 3D model in Blender. You can either sculpt it from scratch or download an already-made model from a repository. When 3D printing your model, ensure it has a “watertight” mesh – meaning, all holes or gaps should be filled to prevent issues during the printing process.

Step 2: Check Your Model for Errors
After designing your model, the next step is to check it for any mistakes that could affect the 3D printing process. Blender has an inbuilt tool called the “3D Print Toolbox,” which can help identify potential issues with your model. To access this, select your model and go to “Object Data Properties” > “Mesh Analysis” > “3D Print Toolbox”.

Step 3: Export Your Model
Once your model is free of errors, the next step is to export it in a format compatible with your 3D printer. Common file types for 3D printing include.STL,.OBJ and.PLY; to export your model go to “File” > “Export” then select your desired file format.

Step 4: Prepare Your Model for Printing
Before sending your 3D model off to be printed, you must prepare it first. This involves setting up the print bed and configuring printer settings so that your model prints correctly. Software such as Cura or Simplify3D can help with this step.

Step 5: Send Your Model to the Printer
Once your model is ready, send it off to your 3D printer for printing. Be sure that everything is calibrated correctly and that you have loaded the correct filament before beginning this step. Enjoy watching as your 3D model comes alive during printing!

Advantages of 3D Printing in Blender

  • User-Friendly Interface: Blender has been designed with simplicity in mind, even for novice users. Its intuitive interface enables users to quickly design and modify 3D models.
  • Powerful 3D Modeling Tools: Blender provides a robust selection of 3D modeling tools, enabling users to craft complex and detailed models with ease. This makes it an ideal choice for 3D printing projects where precision and accuracy are key components.
  • Cost-Effectiveness: Blender is a free and open-source software program, making it affordable for both hobbyists and professionals. This makes it an ideal option for those who want to explore 3D printing without investing in costly software.
  • Large Community: Blender boasts an active community of users who provide tips, tutorials, and resources. This makes it simple for users to get help when needed.

Disadvantages of 3D Printing in Blender:

  • Steep Learning Curve: Although Blender has a user-friendly interface, it can still take some time to become proficient with all its features. This may prove daunting for newcomers just starting out.
  • Limited Technical Support: Due to Blender’s open-source nature, technical support for users who run into issues or need help troubleshooting issues may be limited. This can be discouraging for those who require assistance in solving these problems.
  • Lack of Native 3D Printing Support: Although Blender can create 3D models suitable for printing, it does not possess native support for this task. This means users will have to export their designs into another software or tool in order to prepare them for production.
  • Limited Compatibility: Blender may not be compatible with all 3D printers or printing software. This could present a limitation for those wishing to utilize an exclusive printer or program.
[dsm_blog_carousel include_categories=”115″ use_excerpt=”off” use_date=”off” use_author=”off” centered_slides=”on” _builder_version=”4.23.1″ _module_preset=”default” hover_enabled=”0″ global_module=”234877″ global_colors_info=”{}” sticky_enabled=”0″][/dsm_blog_carousel]

Free Blender Addons Download

Blender is an incredible 3D modeling software that comes with many useful features. However, with the help of some add-ons, you can make your work even easier and more efficient.

download free uvPackmaster 3 for blender

✅ Fastpacking algorithms
✅ Advance UDIM options
✅ Organized UV Packing
✅ Customizable packing options
✅ Multiple Packing Modes
✅ Ability to specify texture sizes for each object
✅ Automatic resolution adjustment for optimized packing
✅ Ability to export packed UV maps in different file formats

zen uv addon for blender free download
Features:
✅ Auto UV
✅ Straighten UV
✅ Island Organized
✅ Check Texel Density
✅ Check UV Coverage
✅ Display Stretch Map
Download UV-Packer for free

Features:
✅ Tiles Grid
✅ Rescale UV Charts
✅ Auto UV
✅ Check Texel Density
✅ Check UV Coverage
✅ Auto Manage island 

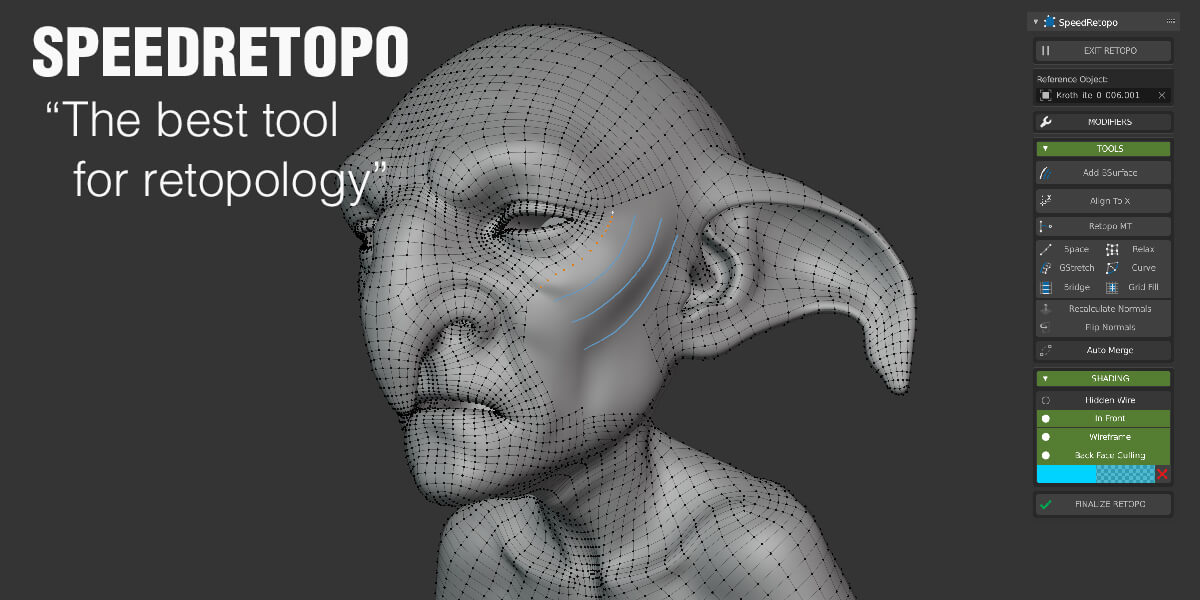
free download speedretopo addon for blender

✅ Instant retopology
✅ Automatic mesh generation
✅ Manual retopology tools
✅ Symmetry support
✅ Surface snapping
✅ Grid-based topology
✅ Adaptive quad size
✅ Multi-resolution editing
✅ Edge flow control
✅ Shrinkwrap projection

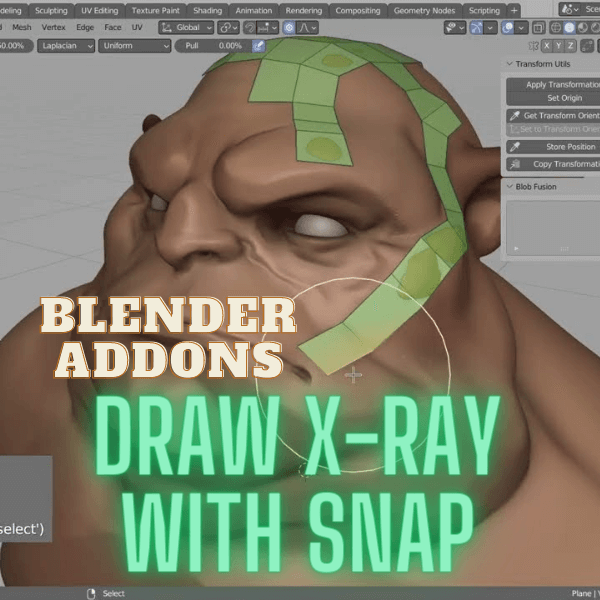
Free Download Blender Addons Draw x-ray with snap

Features:
✅ Draw Xray addon will help you to draw retopo mesh on top of your high-poly mesh, without problems of build-in blender xray (no proper back-face culling).

free-download-OCD-blender-addon

Features:
✅ NEW Smart Scaling system
✅ NEW Smart Pattern Changer
✅ NEW Add-on Preferences
✅ NEW Non-Linear graph
✅Multi-selection feature
✅Instant visual feedback
✅Slim UI with adjustable parameters
✅Variety of procedural noises
✅Auto material creation
✅RECALL function
✅Ctrl/Cmd function
✅Procedural approach

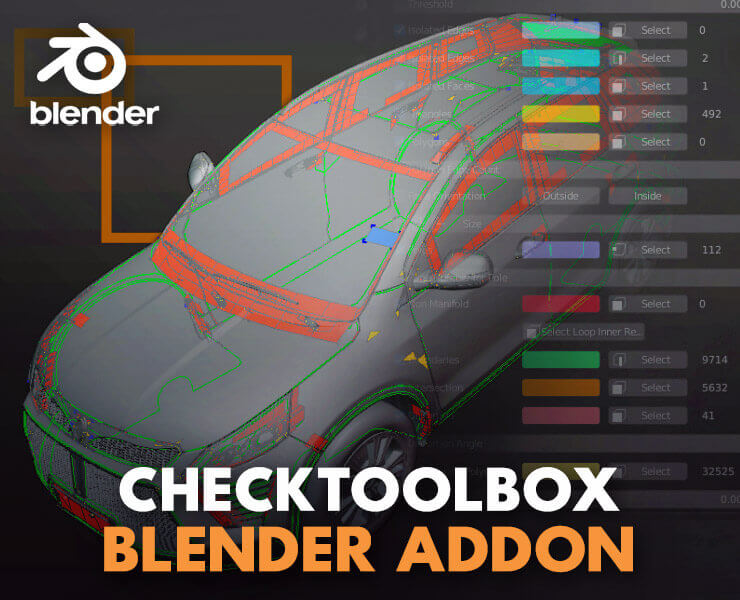
free donwload checktoolbox addon for blender

It Counts & highlights the following:
✅ Isolated edges
✅ Doubles Faces
✅ Isolated Points
✅ Isolated edges, and
✅Isolated faces,
✅Triangles
✅Non-manifold
✅Intersection
✅Distortion
✅ N-gons

HardOps Addons For blender Free download

It simplifies the process of creating complex models, making it ideal for anyone looking to create high-quality designs quickly.

✅Reduction of clicks and keystrokes to speed up the process.
✅Control over topology must be regained if booleans are introduced.

✅Modifiers such as lattices, curves, and lights

✅Boolean based cutting workflows

auto rig pro free download blender addons

Features:
✅ It is used for rigging characters, retargeting animations, and exporting to Fbx/Gltf.
✅ It provides presets for game engines such as Unity, Unreal Engine, and Godot.

Here are our top five picks for the best Blender add-ons:

Animation Nodes
Animation Nodes is an add-on that enables you to create intricate animations quickly and easily. It uses a node-based interface that simplifies the process of making complex animations that might otherwise be challenging with traditional keyframe methods.

TextFX
TextFX is an add-on that makes working with text in Blender much more manageable. With TextFX, you can create 3D text, apply textures and effects, and even animate your text with ease.

FLIP Fluids
FLIP Fluids is an add-on that is essential for anyone working with fluid simulations in Blender. With this add-on, you can create realistic fluid simulations like water and smoke with ease.

Top Free Blender Add-ons

  • Node Wrangler
  • UV Squares
  • Fast Carve
  • Material Utils
  • TextFX

Best Add-ons for 3D Printing

  • 3D Print Toolbox
  • Meshlab
  • MeshLint
  • 3D Printing Toolbox

Best Add-ons for Animation

  • Animation Nodes
  • Rigify
  • AnimAll
  • LoopTools

Best Add-ons for VFX and Compositing

  • Animation Nodes
  • Dynamic Paint
  • F-Curve Offset
  • Compositor Nodes Extra

Best Add-ons for Game Development

  • BSurfaces
  • BPainter
  • Auto Eye
  • Import Images as Planes

Blender is a popular 3D modeling software that allows users to create stunning 3D models, animations, and visual effects. To enhance the software’s capabilities, there are many free add-ons available that users can download to make their workflow more efficient and effective.

Here are some of the top free Blender add-ons:

  1. Node Wrangler: A useful add-on for working with nodes in Blender, providing shortcuts and tools to make the process faster and easier. Furthermore, with Node Wrangler, you can expediently create new nodes, effortlessly switch between different types of nodes, and instantly preview the result of your node setup with just a few clicks.
  2. UV Squares: A simple yet powerful add-on for creating UV maps quickly and easily by automatically squaring up your UV islands.
  3. Fast Carve: A great tool for sculpting and modeling complex shapes and structures by combining different objects and subtracting or adding them to each other.
  4. Material Utils: A collection of tools for working with materials in Blender, making the process easier and more efficient.
  5. TextFX: An add-on for creating 3D text and logos in Blender, providing a range of tools for customizing your text, including bevels, extrusions, and textures.

After Effects

3D House and Cloud.


View Steps

Step 1: Photo-> Select and Separate in a layer on Photoshop and save in PSD.

Step 2: Import in After Effects -> Import as (Composition-Retain layer size)

Step 3: Add Effect & Preset. (Fractal Noise) Add to Background Layer.

Factal Type-> Terrain

Noise Type-> Spline

Invert

key Frame-> Evolution -> 2X+0.0

Blending Mode-> Screen

Key Frame-> [Transform] Offset Turbulence -> 960, -2000

Dissort -> Corner Pin

Step 4: Cloud Shadow

Dublicate cloud Layer-> Facial Noise, Blending Noise=None

Toggle Switch -> Mode-> Multiply

Opacity -> Decrease

Particles

View Steps
Solid Layer- Gradient Ramp Text- Composition (Ctrl+Shift+C) Solid Layer- Complete Black Color Effect & Preset- Lens Flame on a black solid layer Null Object beneath the black solid layer Pen tool (Create Path) Null Object (mask path)-Copy & Delete Pen tool path pastes on position path of Null object. Connect Light center to the position of Null Object Toggle Switch- Blending mode(Screen) New Solid Layer Effect & Present- CC partial word on New solid layer CC Ball Effect & Preset -CC Ball

Solid Layer-3D

View Steps

Text-3D -> Create shape from Text.
Text-> Content (Add) Stroke- Color & Size
Delete-> Text
Shape from Text- Fill Color=None/ Stroke=18px
(Add)-Trim path (end value=0) -> (end value=100)
-Rotate Tool.
Charge classic 3D to Ray 3D
Geometric option-> Extrude Depth->Extrude Depth (increase value)

Ctrl-Y – Solid Layer

-Circle shape layer-> Stroke (Color&Size)

Ellipse path –Copy (Ctrl-C)

New Shape Layer Small Circle (Stroke None & Fill Color)

Trim Path

After Effects Shortcut Keyboard Key

View Steps

New Composition: Ctrl+N Composition Settings: Ctrl+K New Solid Layer: Ctrl+Y Solid Layer Settings: Ctrl+Shift+Y Full-screen any Panel: Place Mouse Cursor on any panel+~ Set Work Area “Start & End”: B & N Trim Time-line to work Area: Ctrl+Shift+X Add Footage/Image to Time-line: Ctrl+Alt+/ Fit Footage width to comp size: Ctrl+Alt+F Go to Next Keyframe: K Go to Previous Keyframe: J Go to 1 Frame ahead: PageUp or Ctrl+Right Arrow Go to 1 Frame Back: PageDown or Ctrl+Left Arrow Move Layer order Up or Down: Ctrl+Alt+UP Arrow or Down Arrow Shift Layer on Top or Bottom: Ctrl+Alt+UP Arrow or Down Arrow Toggle Hold Keyframe: Ctrl+Alt+Click or Press “H” Layer Start or End: “[” or “]” Trim Layer on the timeline: Alt+”[” or “]” Split layer: Ctrl+Shift+D Free Transformation Mask: Ctrl+T Precomposition: Ctrl+Shift+C Adjustment Layer: Ctrl+Alt+Y

Photoshop Notes

Step 1: Pick Polygonal Lasso Tool and draw a straight outline of a flag with the help of Shift bar. Start from down.
Step 2: After making an outline of a flag, use Stroke for a blue outline of a flag, i.e.  width: 10 px Color: Blue Location: Inside
Step 3: Fill the inner part of the flag with Red Color.
Step 4: Use the Elliptical Marquee Tool to make a circle shape for Sun. Then Press Delete for white Color to the Sun.
Step 5: For Moon, again make a circle with Elliptical Marquee Tool then use minus Elliptical Marquee Tool to Cut the Circle.

Step 1: Black Background

Step 2: Type Blood (White Text Colour)

Step3: Rasterize Layer

Step4: Rotate Image 90° CW

Step5: Click Filter, then Stylize Tab, the use of wind From Left to right. CTRL+F to increase wind effect

Step6: Rotate Image 90° CCW

Step7: Now select that text image layer and Go to channel tab, then add new select that channel layer then delete the text layer. After this add a new layer. Fill Red color to that layer. Press CTRL+D

Step8: Click menu Filter Gallery, Select Sketch Option and then Stamp

Light=20, Smoothness=5

Step9: Go to Channel, then Add New Channel (Alpha1)

Step10: use fx Bevel & Emboss.

Depth:70

Size: 5

Smoothness: 1

Press Ok

Step11: Now get back to Layer, then add a new layer and hide Blood layer by pressing the eye icon. Fill Red color to that layer.