
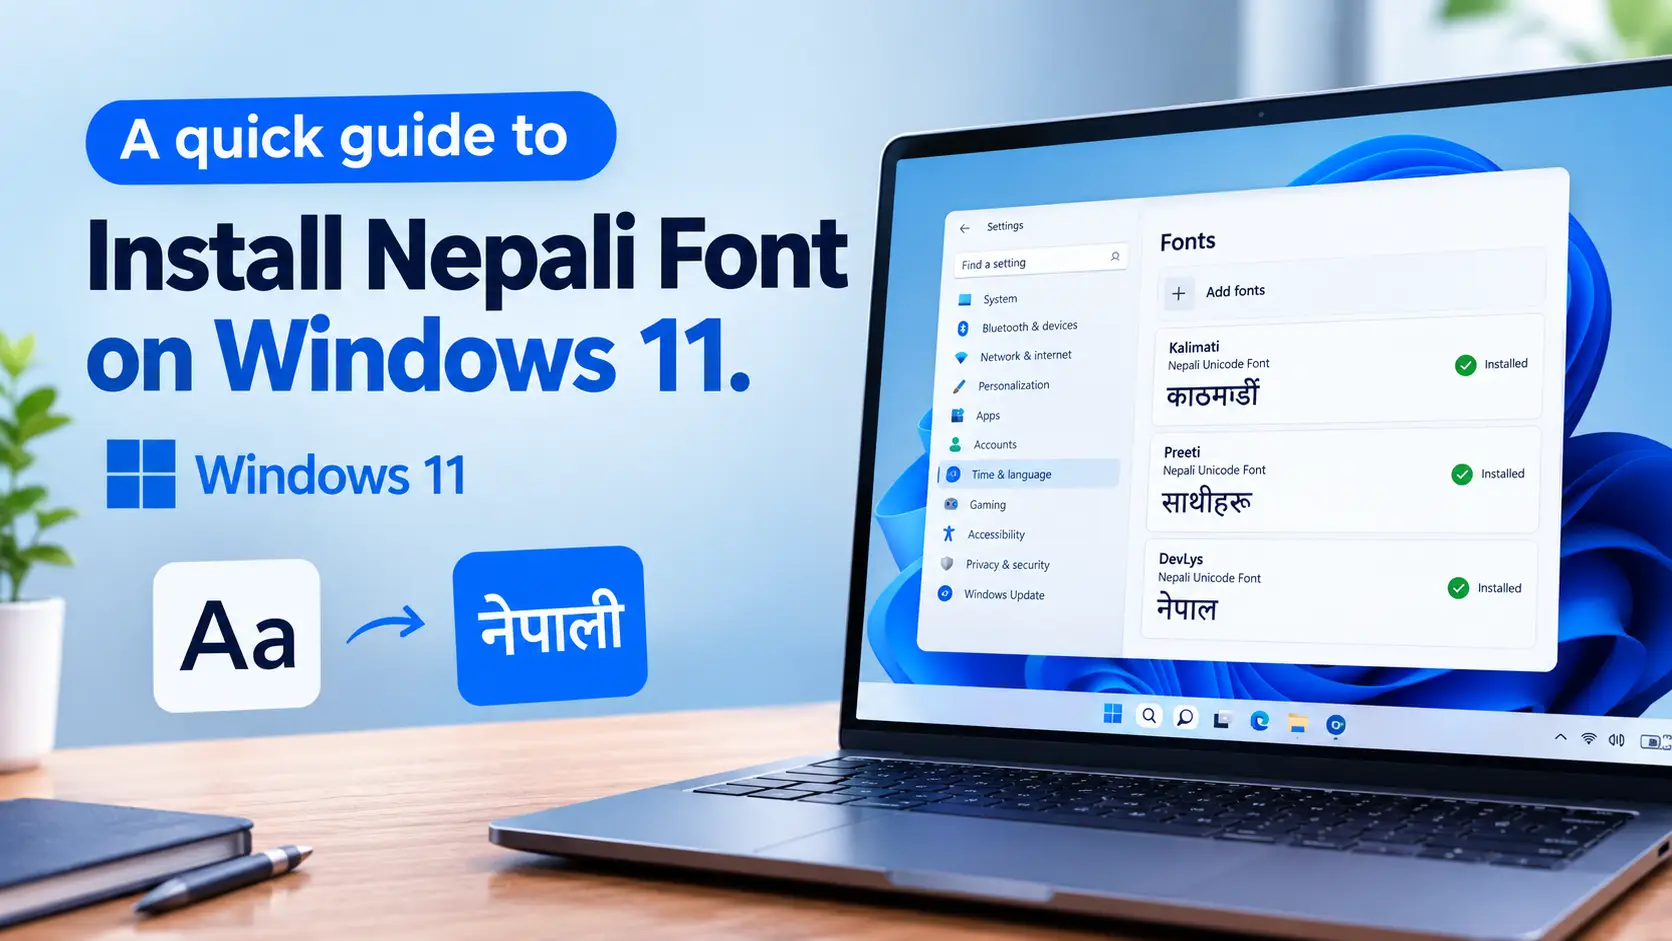
How to Install Nepali Font on Windows 11 (Complete 2026 Guide)
To install a Nepali font on Windows 11, download a .ttf or .otf font file, right-click it and choose Install for all users. Then open Settings › Time & language › Language & region, click Add a language, select Nepali (नेपाली), and install it. Press Win + Space to switch between English and Nepali while typing.
Windows 11 handles Nepali better than any version before it — Devanagari rendering is built in, and a Nepali keyboard layout ships with the OS. Yet most people still end up staring at empty squares, a font that refuses to appear in Microsoft Word, or a keyboard that types the wrong characters entirely.
Almost every one of those problems traces back to a single misunderstanding: there are two completely different kinds of Nepali font, and installing the wrong one for your task guarantees frustration. This guide covers the installation itself, which font type you actually need, how to enable Nepali typing, and how to fix the errors that trip people up — verified on Windows 11 (24H2 and later).
1Unicode vs. Preeti: Which Nepali Font Do You Actually Need?
This is the step nearly every other guide skips, and it is the reason most Nepali font installations "fail" even when the file installed perfectly.
Unicode fonts (Mangal, Kalimati, Kokila, Aparajita) store real Devanagari characters. Type नेपाल in a Unicode font and it stays नेपाल everywhere — in email, on Facebook, in a searchable PDF, on a phone that has never had your font installed.
Legacy fonts (Preeti, Kantipur, Sagarmatha, Fontasy Himali, Aakriti) are a clever illusion. They map English letters to Devanagari-looking shapes. The letters g]kfn are literally what's stored — they only look like नेपाल because the Preeti font is drawing them that way. Send that text to anyone without the font and they see gibberish.
| Unicode (Mangal, Kalimati) | Legacy (Preeti, Kantipur) | |
|---|---|---|
| Text stays readable elsewhere | Yes — on any device | No — needs the font installed |
| Searchable & copy-paste safe | Yes | No |
| Works online / social media | Yes | No |
| Needs a font download? | No — Mangal is built into Windows 11 | Yes |
| Typing layout | Nepali keyboard (built in) | Preeti layout (muscle memory from Typeshala) |
| Best for | Everyday use, web, email, official documents | Opening old files, print/press work, legacy office templates |
Which should you choose? Pick Unicode unless you have a specific reason not to — it is the modern standard and needs almost no setup. Install a legacy font like Preeti or Kantipur only when you need to open older documents or you already type with the Preeti layout. Many people install both, and that is perfectly fine.
2Where to Download Nepali Fonts Safely
Font files are executable-adjacent, so where you get them matters. Stick to these three routes:
- Already on your PC. Windows 11 ships with Mangal, Nirmala UI, Aparajita and Kokila — all Unicode Devanagari fonts. If you only need to read and write standard Nepali, you may not need to download anything at all. Skip to step 4.
- The Microsoft Store. The All Nepali Fonts package installs through the Store with no loose files to handle — the safest option if you are wary of downloads.
- A trusted font archive. For legacy fonts, use a maintained collection such as our free Nepali fonts download page, or grab the classic newspaper font directly from our Kantipur font download.
Avoid random "free font" aggregator sites. Nepali fonts are frequently repackaged inside .exe installers bundled with adware. A genuine font download is a .ttf, .otf, or a .zip containing them — never an installer that asks for extra permissions.
3How to Install the Nepali Font on Windows 11
If your download arrived as a ZIP, extract it first — Windows cannot install a font from inside a compressed folder. Right-click the ZIP, choose Extract All, then pick whichever method below suits you.
Method 1 — Right-click install (fastest)
- Open the extracted folder and find your font file. It will end in
.ttfor.otf. - Right-click the font file and choose Install for all users. If you only see a short menu, click Show more options first.
- Approve the admin prompt. Installing for all users requires administrator permission — this is what makes the font available in every app and every user account.
That is it. Choosing Install instead of Install for all users also works and skips the admin prompt, but the font is then only available to your own account and occasionally will not appear in apps running with elevated permissions.
Method 2 — Drag and drop into Settings
- Press Win + I to open Settings.
- Go to Personalization › Fonts.
- Drag your font files into the "Drag and drop to install" box at the top. Windows installs them instantly, no restart required.
Method 3 — The Control Panel Fonts folder (legacy)
- Press Win + R, type
control fontsand press Enter. - Drag the font files into the window that opens. This is the same folder Windows has used for decades and still works reliably in Windows 11.
Method 4 — Straight from the Microsoft Store
- Open Settings › Personalization › Fonts and click Get more fonts in Microsoft Store.
- Search for "Nepali", then install the package you want. Store fonts update automatically and are the lowest-risk option.
Verify the install worked: open Settings › Personalization › Fonts and search for the font name. If it appears there, it is installed system-wide — any app that still cannot see it simply needs to be closed and reopened.
4Enable the Nepali Keyboard in Windows 11
Installing a font lets your PC display Nepali. It does not let you type it. For that you need to add the Nepali input language — a separate step, and the one people most often skip.
- Press Win + I and go to Time & language › Language & region.
- Click "Add a language" next to Preferred languages.
- Search for "Nepali" and select नेपाली (Nepali), then click Next.
- Confirm the language features. Make sure Basic typing is ticked — this is the component that installs the keyboard. You can safely untick "Set as my Windows display language" unless you want the whole interface in Nepali.
- Click Install and wait a few seconds. A language icon (ENG) now appears in your taskbar near the clock.
Switch languages instantly: press Win + Space to cycle between English and Nepali. Alt + Shift does the same thing on most setups. You can also click the ENG indicator in the taskbar.
5Start Typing in Nepali
Which keys produce which characters depends entirely on the font type you chose in step 1.
Typing in Unicode (the Nepali keyboard)
Switch to Nepali with Win + Space and start typing. Windows uses the Nepali Traditional layout, which is the standard Devanagari arrangement — the same one used across government and education in Nepal. Set your document font to Mangal, Kalimati or Nirmala UI and the text will render correctly anywhere it is sent.
If you have never learned the Traditional layout, you have two shortcuts. Practise it properly with Typeshala, the classic Nepali typing tutor — or type phonetically in English and convert with our English to Nepali Unicode converter, which turns "mero desh Nepal" into मेरो देश नेपाल instantly.
Typing in Preeti or Kantipur
Legacy fonts do not use the Nepali keyboard — keep Windows on English, then simply select Preeti or Kantipur as the font in your document. The keys map to Devanagari shapes through the font itself, which is why Preeti typists learn a separate layout. Switching Windows to Nepali while using Preeti is a very common cause of scrambled output.
6Troubleshooting: 8 Problems and Their Fixes
| Problem | Cause & fix |
|---|---|
| Font missing from Word / Photoshop | The app cached its font list at launch. Fully close and reopen it. If it still does not appear, reinstall using Install for all users. |
| Empty squares or boxes (□□□) | The font you have selected has no Devanagari characters. Switch the text to Mangal or Kalimati — this is not a Windows fault, it is a font-coverage issue. |
| Nepali text turns into English gibberish for others | You typed in Preeti/Kantipur, which is device-dependent. Retype in Unicode, or run the text through a Preeti-to-Unicode converter before sending. |
| No language icon in the taskbar | Basic typing was not installed with the language. Go to Language & region, click the ⋯ next to Nepali › Language options, and add the keyboard. |
| "Install" missing from right-click menu | Either the file is still inside a ZIP (extract it first), or you are on the compact Windows 11 menu — click Show more options. |
| Matras or characters overlap incorrectly | An outdated font build without proper OpenType shaping. Download a current version, or switch to a maintained Unicode font like Kalimati. |
| Works in Word but not in Chrome | Websites specify their own fonts. Set a Devanagari fallback under Chrome › Settings › Appearance › Customise fonts. |
| "You need administrator permission" | Choose plain Install instead of Install for all users — this installs to your own profile and needs no admin rights. |
Key takeaways
- Unicode for everything modern — it travels; Preeti and Kantipur do not.
- Fonts and keyboards are separate. Installing a font never enables typing on its own.
- Windows 11 already has Mangal. Many people need no download whatsoever.
- Right-click → Install for all users prevents most "font not showing" problems before they start.
- Win + Space is the only shortcut you really need to remember.
7Frequently Asked Questions
Is Nepali font free to download for Windows 11?
Yes. Every widely used Nepali font — Preeti, Kantipur, Sagarmatha, Kalimati and the Unicode families — is free for personal use, and Windows 11 already includes Mangal and Nirmala UI at no cost. Only a handful of commercial display fonts carry a licence fee, and those are clearly marked as such.
Which Nepali font is best for Windows 11?
Kalimati is the best all-round choice for on-screen Nepali — it is Unicode, well-shaped and highly readable. Mangal is the safest default because it is already installed on every Windows 11 machine. Choose Preeti or Kantipur only for legacy documents or print work that specifically requires them.
Do I need to install a font to type Nepali on Windows 11?
No. Windows 11 ships with Devanagari-capable fonts, so you only need to add the Nepali keyboard under Time & language › Language & region. You only need to install a font if you want a specific typeface such as Preeti, Kantipur or Kalimati.
What is the difference between Preeti and Nepali Unicode?
Preeti maps English letters to Devanagari-shaped glyphs — the underlying text is still English characters, so it only displays correctly on devices with Preeti installed. Unicode stores genuine Nepali characters that display correctly everywhere, are searchable, and can be copied between apps without breaking.
How do I switch between English and Nepali on the keyboard?
Press Win + Space to cycle through your installed input languages, or Alt + Shift. You can also click the language indicator (ENG / NEP) in the taskbar next to the clock.
Why is my Nepali font showing boxes or question marks?
The selected font does not contain Devanagari characters — the text itself is fine. Highlight the text and change it to Mangal, Kalimati or Nirmala UI. If boxes appear only in one application, that app is falling back to a font without Nepali support.
Can I install Nepali fonts without administrator rights?
Yes. Right-click the font file and choose Install rather than Install for all users. The font installs into your own user profile and works in most applications, though it will not be available to other accounts on the PC.
How do I convert Preeti text to Unicode?
Paste the Preeti text into a converter that remaps the glyphs to real Devanagari characters. Our Nepali Unicode converter handles this, and the resulting text can be used in email, on the web and in any document without needing the Preeti font installed.
Final Thoughts
The whole process comes down to three things: install the font file, add the Nepali keyboard, and pick Unicode unless a legacy document forces your hand. Get those right and Nepali typing on Windows 11 stops being a recurring annoyance and simply becomes part of how you work.
If you hit a problem this guide does not cover, describe it in the comments below — I read every one and keep this article updated as Windows 11 changes.