Select Page

Blender 3D vs Maya: Which One is Better for 3D Modeling?

blender vs maya a full complete comparison

3D modeling is an integral part of modern life, used in everything from films and video games to architecture and product design. However, with so many software options available it can be hard to decide which one best meets your requirements. Blender 3D and Maya are two well-known options for 3D modeling – each offering their own advantages as well as drawbacks. We’ll take a close look at each application so you can decide which one meets your requirements best.

Table OF Content

I. Introduction

  • Introduction to Blender 3D
  • Introduction to Maya

II. Blender 3D vs Maya: Modeling Features

  • Modeling Features of Blender 3D
  • Modeling Features of Maya

III. Blender 3D vs Maya: Animation Features

  • Animation Features of Blender 3D
  • Animation Features of Maya

IV. Blender 3D vs Maya: Rendering Features

  • Rendering Features of Blender 3D
  • Rendering Features of Maya

V. Blender 3D vs Maya: User Interface

  • User Interface of Blender 3D
  • User Interface of Maya

VI. Blender 3D vs Maya: Learning Curve

VII. Conclusion

An introduction to Blender 3D

Blender 3D is a completely free and free 3D modeling application which was released in 1998. Since then, it has grown to become among the top well-known 3D modeling software choices and has a huge user base and developers. Blender 3D is an robust tool that can be used to tackle many different 3D model-related tasks ranging from simple object creation to intricate animations. One of the main benefits that comes with Blender 3D is its cost. Because it is free and open source the software is accessible anyone who would like to utilize it. This makes it an appealing choice for artists working on their own and small studios that do not have the funds to purchase expensive software. In addition, Blender 3D has a huge community of users and developers who develop extensions and plugins that increase its capabilities.

Introduction to Maya

Maya is an 3D modeling program which was initially launched in the year 1998 through Alias Systems Corporation. The software was purchased by Autodesk and has continued to work to develop and enhance the program. Maya is extensively used for film production and game industries, as in product and architecture design. One of the major benefits to Maya is its flexibility. It is able to handle a broad variety of 3D modeling tasks, ranging from simple object creation to more complex visual effects and animations. Furthermore, Maya has a powerful scripting language that lets users automate repetitive tasks and develop customized tools.

Blender 3D vs Maya: Modeling Features

The modeling options that are available in Blender 3D and Maya are comprehensive. Blender’s modeling tools are flexible and adaptable and therefore a good choice for artists looking to design distinctive designs. Furthermore, Blender 3D comes equipped with a variety of sculpting tools that allow you to create detailed organic shapes.

Maya is distinguished by its precise modeling tools. With its user-friendly approach, it’s easy for beginners to begin, and Maya offers a variety different procedural model options that allow users to quickly design complex patterns and shapes.

Modeling FeaturesBlender 3DMaya
Poly ModelingYesYes
NURBS ModelingNoYes
Subdivision Surface ModelingYesYes
RetopologyYesYes
SculptingYesYes
Boolean OperationsYesYes
Procedural ModelingYesYes
Parametric ModelingYesYes
Dynamic TopologyYesNo
Mesh DeformationYesYes
Non-destructive ModelingYesYes
Modeling PluginsYes, but limitedYes, extensive
Ease of UseIntuitive interface, easy to learnSteep learning curve
CostFree and open-sourceExpensive for professional version
CompatibilityWorks on all major operating systemsWorks on Windows and macOS

Blender 3D vs Maya: Animation Features


Blender 3D, as well as Maya are both powerful animation software applications that offer a wide array of options and features. Blender 3D’s customizable options are the best choice for animators looking to create original, intricate animations. In addition the powerful physics engine allows for real-life simulations.

Maya’s animation tools have the best of the best which makes it an ideal option for video and film game studios. The intuitive workflow makes the creation of complex animations easy even for novices. In addition, Maya provides an extensive range in motion-graphics tools that allow you to create visually stunning effects.

Animation FeaturesBlender 3DMaya
Keyframe AnimationYesYes
Motion GraphicsYesYes
Rigging and SkinningYesYes
Non-linear AnimationYesYes
Simulation ToolsYesYes
Motion PathsYesYes
Particle SystemsYesYes
Motion CaptureYesYes
Grease Pencil 2D AnimationYesNo
Baking AnimationYesYes
Shape Key EditingYesYes
Crowd SimulationNoYes
Dynamic PaintNoYes
nClothNoYes

Blender 3D vs Maya: Rendering Features

Blender 3D and Maya are two powerful 3D software that have many differences when it comes to rendering features. Here’s a comparison table:

FeatureBlender 3DMaya
Render EnginesCycles, Eevee, WorkbenchArnold, RenderMan, Maya Software
ShadingPrincipled BSDF, Eevee Materials, Cycles NodesHypershade, Arnold Shaders, Maya Software Shaders
LightingHDRI, Point Lights, Sun Lamp, Area LampArnold Lights, Physical Sun and Sky, IBL (Image-Based Lighting)
CameraDepth of Field, Motion Blur, Panoramic ViewsPhysical Camera, Depth of Field, Motion Blur
Motion GraphicsBuilt-in Compositor, Video Sequencer, Particle SystemMASH Motion Graphics, Bifrost Graph, XGen for hair and fur
IntegrationIntegration with other Blender 3D tools and add-onsIntegration with other Autodesk products, such as Maya LT, Mudbox, and 3ds Max

Blender 3D Vs Maya User Interface

Comparison The user interface of a 3D modeling program is an important factor to consider, as it affects productivity and user-friendliness. Blender 3D offers customization of its interface according to user preferences; however, some may find it overwhelming with all its menus and options. On the contrary, Maya offers a simpler user experience designed with simplicity in mind; its customizable interface enables users to personalize it according to their preferences. Furthermore, Maya boasts an extensive assistance system that will assist newcomers to get up and running quickly.

FeatureBlender 3DMaya
User InterfaceCustomizable with many themes availableCustomizable with many themes available
HotkeysHas a unique set of hotkeysHas a unique set of hotkeys
NavigationNavigation is done through the middle mouse button, alt, and ctrl key combination.Navigation is done through the alt key and mouse button combination.
Menu AccessMenus can be accessed through hotkeys or the top menu bar.Menus can be accessed through the top menu bar or by right-clicking on objects.
WorkspacesWorkspaces are available and allow for easy switching between different work modes.Workspaces are available and allow for easy switching between different work modes.
CustomizabilityBlender can be customized to fit the user’s preferences through themes and addons.Maya can be customized through scripts and plugins.
Learning CurveThe learning curve can be steep for beginners.The learning curve can be steep for beginners.

In Conclusion

  • Modeling Features: Blender provides advanced modeling tools for organic shapes and a unique node-based material editor, while Maya boasts more robust modeling capabilities to create detailed objects and scenes, along with a more traditional material editor.
  • Animation Features: Blender has its own built-in game engine and is ideal for short films and animation. Maya on the other hand is more suitable for feature films with more complex character rigging, motion capture, and simulation needs.
  • Rendering Features: Blender boasts an advanced built-in render engine and supports GPU rendering, while Maya provides more sophisticated options as well as support for third-party render engines.
  • User Interface: Blender offers a customizable interface with an intense learning curve, while Maya opts for a more traditional layout that makes it easier to use.
  • Learning Curve: Blender is free but has a steep learning curve, while Maya requires payment and offers a more gradual learning curve as well as extensive documentation and community support.
[dsm_blog_carousel include_categories=”115″ use_excerpt=”off” use_date=”off” use_author=”off” centered_slides=”on” _builder_version=”4.20.1″ _module_preset=”default” global_colors_info=”{}” global_module=”234877″ theme_builder_area=”post_content”][/dsm_blog_carousel]

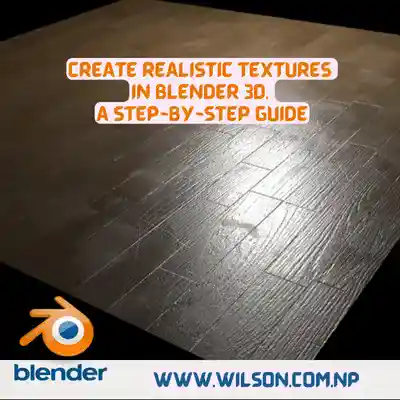
Create Realistic Textures in Blender 3D: A Step-by-Step Guide

Create Realistic Textures in Blender 3D A Step-by-Step Guide

Creating realistic texture can be challenging as it requires attention to detail and an understanding of materials and lighting. Without proper techniques, the texture may appear flat or unrealistic.

Here I will explain a step-by-step tutorial to help you create an eye-catching realistic appearing texture. In this guide, you will get all of the necessary steps for creating textures that look Real and visually pleasing.

I have practiced creating realistic textures and now I am going to share my experience with you guys. Hope my experience will help you and enlighten you. If any questions you can comment me down below I will be pleased to help you.

Here are Step-by-Step Processes to create a Realistic texture in Blender 3D

  1. Collect reference images:
    Object to create realistic texture. You can find these images online or take your own photographs. Collect images of the materials you are going to work on.
  2. Complete the Modeling and UVs:
    Before starting to create the texture you need to have your model and the UVs of that model ready.
  3. Choose a texture type:
    Open the texture editor in the main menu, go to the “Texture paint” tab, and change to “Texture Paint” mode. This will open the texture editor where we are going to do all the texture stuff.
  4. Texture painting:
    Use Blender’s texture painting tools to paint the textures onto the UV map. Start by painting the base color and then add layers for roughness, bump, normal maps, and specular maps. Pay attention to detail by using different brush types and sizes, blending colors, and adjusting opacity.
  5. Shading:
    Once you have your textures, create a material that mimics the real-world surface’s properties using Blender’s shading nodes. Experiment with different settings such as roughness, specular, and subsurface scattering to get the desired result.
  6. Lighting:
    Finally, add lights to your scene and position them accordingly. Adjust the intensity, color, and size to achieve a realistic lighting setup that complements your textures and shading.

Metallic Texture Painting in Blender 3D (Node Base):

  1. Add a cube or any object you want to texture paint on.
  2. In the Shading workspace, add a new material to the object.
  3. Create a new image texture to paint on by adding an image texture node and creating a new image with a desired resolution (e.g. 4K).
  4. Set the color space of the texture node to “non-color” because it’s a metallic map and not contributing to the base color.
  5. Connect the color output of the texture node to the metallic input of the material output.
  6. UV unwrap the object onto the image texture in the UV editing workspace.
  7. Switch back to the Shading workspace and enter Texture Paint mode.
  8. Use the brush tool to paint on the image texture to add metallic values.
  9. To create edge wear, use a node setup that combines the image texture with a dirt texture and a noise texture.
  10. Use the brush tool to paint on the edge wear node setup to add wear and tear effects to the object.

To export a bumpmap in Blender Follow these steps:

  1. Select the object that contains the bump map you wish to export.
  2. Within the Properties panel, select the Material Properties tab.
  3. Click on the Settings section and then click”Export Options” in the Settings section “Export Options” button.
  4. On the Export Options dialog box, choose “Bump” for the type of export you want to use.
  5. Select a that can be used for the bump maps. Common formats include PNG, JPEG, and TIFF.
  6. Choose a place for saving the bump maps file.
  7. Select on the “Export” option to download the bumpmap.

To successfully bake mesh using Blender, you must complete these steps:

  1. Create or import the item that you wish to bake.
  2. Create a new UV Map for an object if it doesn’t already have one. It’s as easy as visiting the Object Data Properties panel, selecting the UV Maps tab, then clicking on the plus icon to generate a new UV map.
  3. Create a brand-new image in The UV or Image Editor to serve as the map for creating the texture of your baked goods. To do this, open the Image menu and choose “New Image.”
  4. Select “Cycles” as the rendering engine on the Render Properties panel.
  5. On the Bake tab of the Render Properties panel, select either “Diffuse” or “Combined” according to your requirements.
  6. Select your destination UV map, and then use the texture map you created previously as its texture map.
  7. Make any necessary adjustments, such as the image size or sample count.
  8. Click “Bake” to begin baking. This will initiate your baking process.
  9. Once the baking has been completed, save the finished picture by opening the Image menu and choosing “Save as.”

Materials for Blender 3D:

  1. Create Your Own Materials: In Blender, the Shader Editor lets you design materials from scratch. To access it, go to the main menu and select “Window” > “Shader Editor”. Here, you can add nodes and adjust their properties with ease.
  2. Utilize Blender’s Built-in Materials: Blender comes equipped with a selection of pre-made materials you can use for texture painting. To access them, go to the Properties panel and select the Material tab. From there, you have access to an extensive library of pre-made textures.
  3. Utilize external material libraries: There are a number of websites and resources offering free or paid materials libraries you can download and use in Blender. Popular options include Poliigon, Substance Source, and Texture Haven. To utilize these materials in Blender, simply import them using the Material Properties panel.
  4. Create Your Own Material Library: If you have created materials from scratch or downloaded them from external sources, you can save them as a material library in Blender. To do so, go to the Properties panel and select the Material tab. From there, click “+” next to each material slot and choose “New Material Library”. Afterward, add your materials to this library and save it for future reference.
[dsm_blog_carousel include_categories=”115″ use_excerpt=”off” use_date=”off” use_author=”off” centered_slides=”on” _builder_version=”4.20.1″ _module_preset=”default” global_module=”234877″ global_colors_info=”{}”][/dsm_blog_carousel]

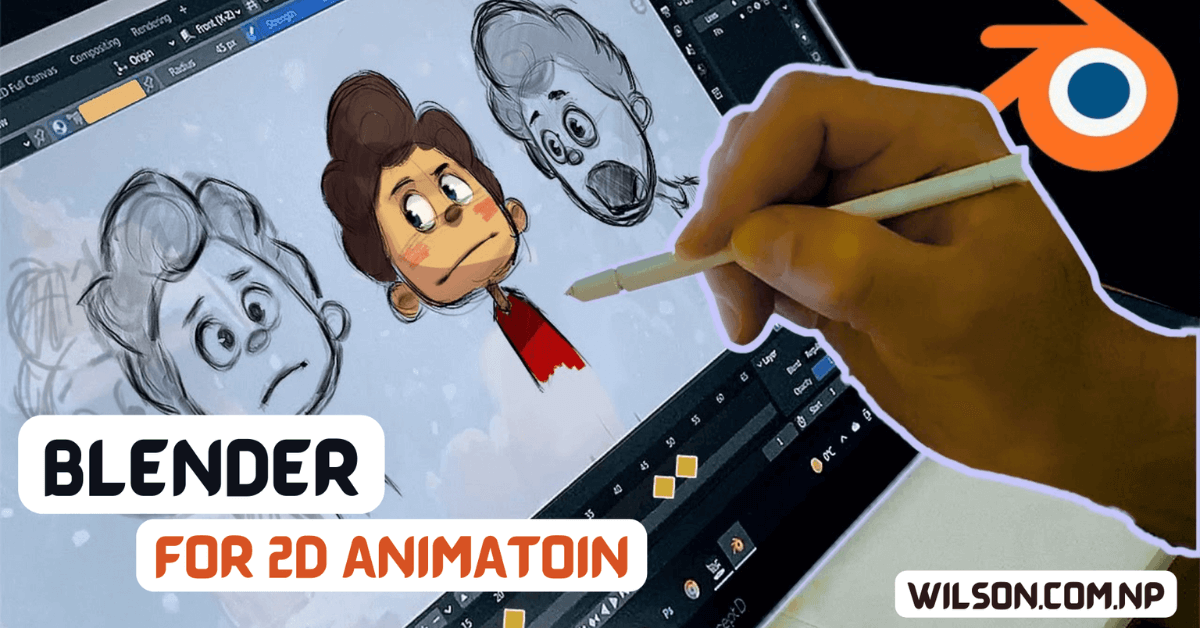
Is Blender the Future of 2D Animation? Find Out Why Experts Says

is blender good for 2d animation

2D animation is a type of illustration that involves creating movement within two dimensions. It has been an iconic medium for storytelling, advertising, and entertainment for decades – from classic Disney cartoons to contemporary anime – showing that its applications and techniques have evolved significantly over time.

Blender is an impressive software used primarily for 3D animation, but it can also produce quality 2D animations. Thanks to its user-friendly interface and comprehensive set of tools, Blender has become a go-to choice among animators across various industries.

In this article, we’ll investigate whether Blender is a viable software option for 2D animation. We’ll cover both its advantages and drawbacks, as well as offer tips on how to maximize its capabilities. Whether you’re an experienced artist or just starting out, this guide will give you a comprehensive view of Blender’s potential in this regard.

Is Blender is good for 2D Animation?

Blender is primarily known for its 3D animation capabilities, though it does have some 2D capabilities as well. However, for true 2D animation, there are better alternatives such as Adobe Animate, Toon Boom Harmony or open-source programs like Krita or OpenToonz which offer better options.

Blender’s 2D animation tools are somewhat limited, and while they can produce impressive results, they may not be as user-friendly or intuitive as other dedicated 2D animation software packages. Basic drawing and painting tools, a timeline editor for animation, as well as effects like color grading and compositing are all included.

Why Use Blender for 2D?

One of the primary advantages of Blender for 2D animation is its versatility; you can use it to create traditional hand-drawn animations as well as digital ones using vector graphics, 2D rigs, and other techniques. Furthermore, there are plenty of tools in Blender to help with special effects, compositing, and postproduction work that will further enhance your 2D visuals.

Benefits of Blender for 2D Animation

  1. Free and Open-Source: Blender is free for anyone to use, with its open-source nature enabling users to modify and customize the software according to their individual needs.
  2. Blender’s Animation Tools Are Renowned for Their Strength and Flexibility: Blender’s animation tools are renowned for their strength and versatility, enabling users to craft complex 2D animations with ease.
  3. Customizable Interface: Blender’s user-friendly interface is highly customizable, allowing users to design their workspaces and arrange tools and panels according to their workflow.
  4. Blender Has an Engaging User Community: Blender boasts a vibrant user community, so users can find help and support online with ease.
  5. Cross-Platform Compatibility: Blender is compatible with Windows, Mac and Linux operating systems, making it accessible to a wide range of users.
  6. Seamless Integration with 3D Animation: Blender is renowned for its 3D animation capabilities, but its 2D tools can be seamlessly combined to create complex scenes combining both 2D and 3D elements.
  7. Advanced Compositing: Blender’s powerful compositing tools let users create complex visual effects, making it the ideal solution for those combining 2D animation with visual effects.

Blender Limitations in 2D Animation

  1. Limited 2D Animation Tools: Blender’s 2D animation tools are somewhat limited compared to other dedicated 2D software options. While it does provide basic drawing and painting tools, they may not be as robust or intuitive as other options available on the market.
  2. Steep Learning Curve: Blender is an intricate program with a steep learning curve, especially for those new to 3D animation. While those already acquainted with the program may find it simpler, beginners may struggle to figure out how to utilize it effectively for 2D animation projects.
  3. Not Specifically Engineered for 2D Animation: While Blender’s 2D animation tools can be helpful, the software was primarily created with 3D animation in mind. As such, some of its features and tools may not be as well-suited to 2D animation as those offered by software tailored specifically for this purpose.
  4. Time Consuming: Producing 2D animations in Blender can be time-consuming, as users must construct and rig their characters, set up the scene, and tweak animation settings accordingly.
  5. Resource-Intensive: Blender can be resource intensive, especially when rendering complex animations. In order to ensure smooth playback and rendering, users may require a powerful computer with an excellent graphics card.

Conclusion

Blender is an impressive piece of software suitable for 2D animation. Its advantages include being free and open-source, featuring powerful tools, a customizable interface, cross-platform compatibility, seamless integration with 3D animation software, as well as advanced compositing capabilities. On the downside however, Blender also has some limitations such as limited 2D animation options, steep learning curve, lack of specificity in this regard, lengthy setup process and resource requirements.

Overall, whether Blender is suitable for 2D animation depends on the user’s individual needs and preferences. Those who are already acquainted with Blender and wish to combine 2D and 3D effects may find it useful, while those primarily interested in creating visuals of two dimensions may require software specifically designed for this purpose.

Further exploration can lead users to other software options designed specifically for 2D animation, such as Adobe Animate or Toon Boom Harmony. Furthermore, users can consult online tutorials and resources on how to utilize Blender more efficiently when creating 2D artwork.

Best Blender Tutorial for 2D Animation

Here is a step-by-step process:

  1. Gather reference materials.
  2. In Blender, delete everything and create a flat scene by switching to a top-down view.
  3. Use the “Import Images as Planes” add-on to import reference images into separate collections.
  4. Create shapes using circles from the curves menu and resize them to match reference images.
  5. Duplicate and place these shapes around the scene according to its reference image.
  6. Use busier circles for creating legs, adding edge loops for bendability.
  7. Create an IK rig or use the one provided in the project file.
  8. Parent shapes to bones in the hierarchy.
  9. Test it by going into pose mode and shifting bones around.
  10. Use automatic weights to rig bendy legs securely and eliminate unnecessary deformations.
  11. Create an animated scene by scaling, rotating and moving elements to match the reference.
  12. Add a sunlight with zero specular and no shadows for a vector look.
  13. Change from filmic to standard view transform and adjust gamma for color balance.
  14. Use an autographic lens type for camera to achieve flat visuals.
  15. Render the scene using your camera.
[dsm_blog_carousel include_categories=”115″ use_excerpt=”off” use_date=”off” use_author=”off” centered_slides=”on” _builder_version=”4.20.1″ _module_preset=”default” global_colors_info=”{}” global_module=”234877″ theme_builder_area=”post_content”][/dsm_blog_carousel]

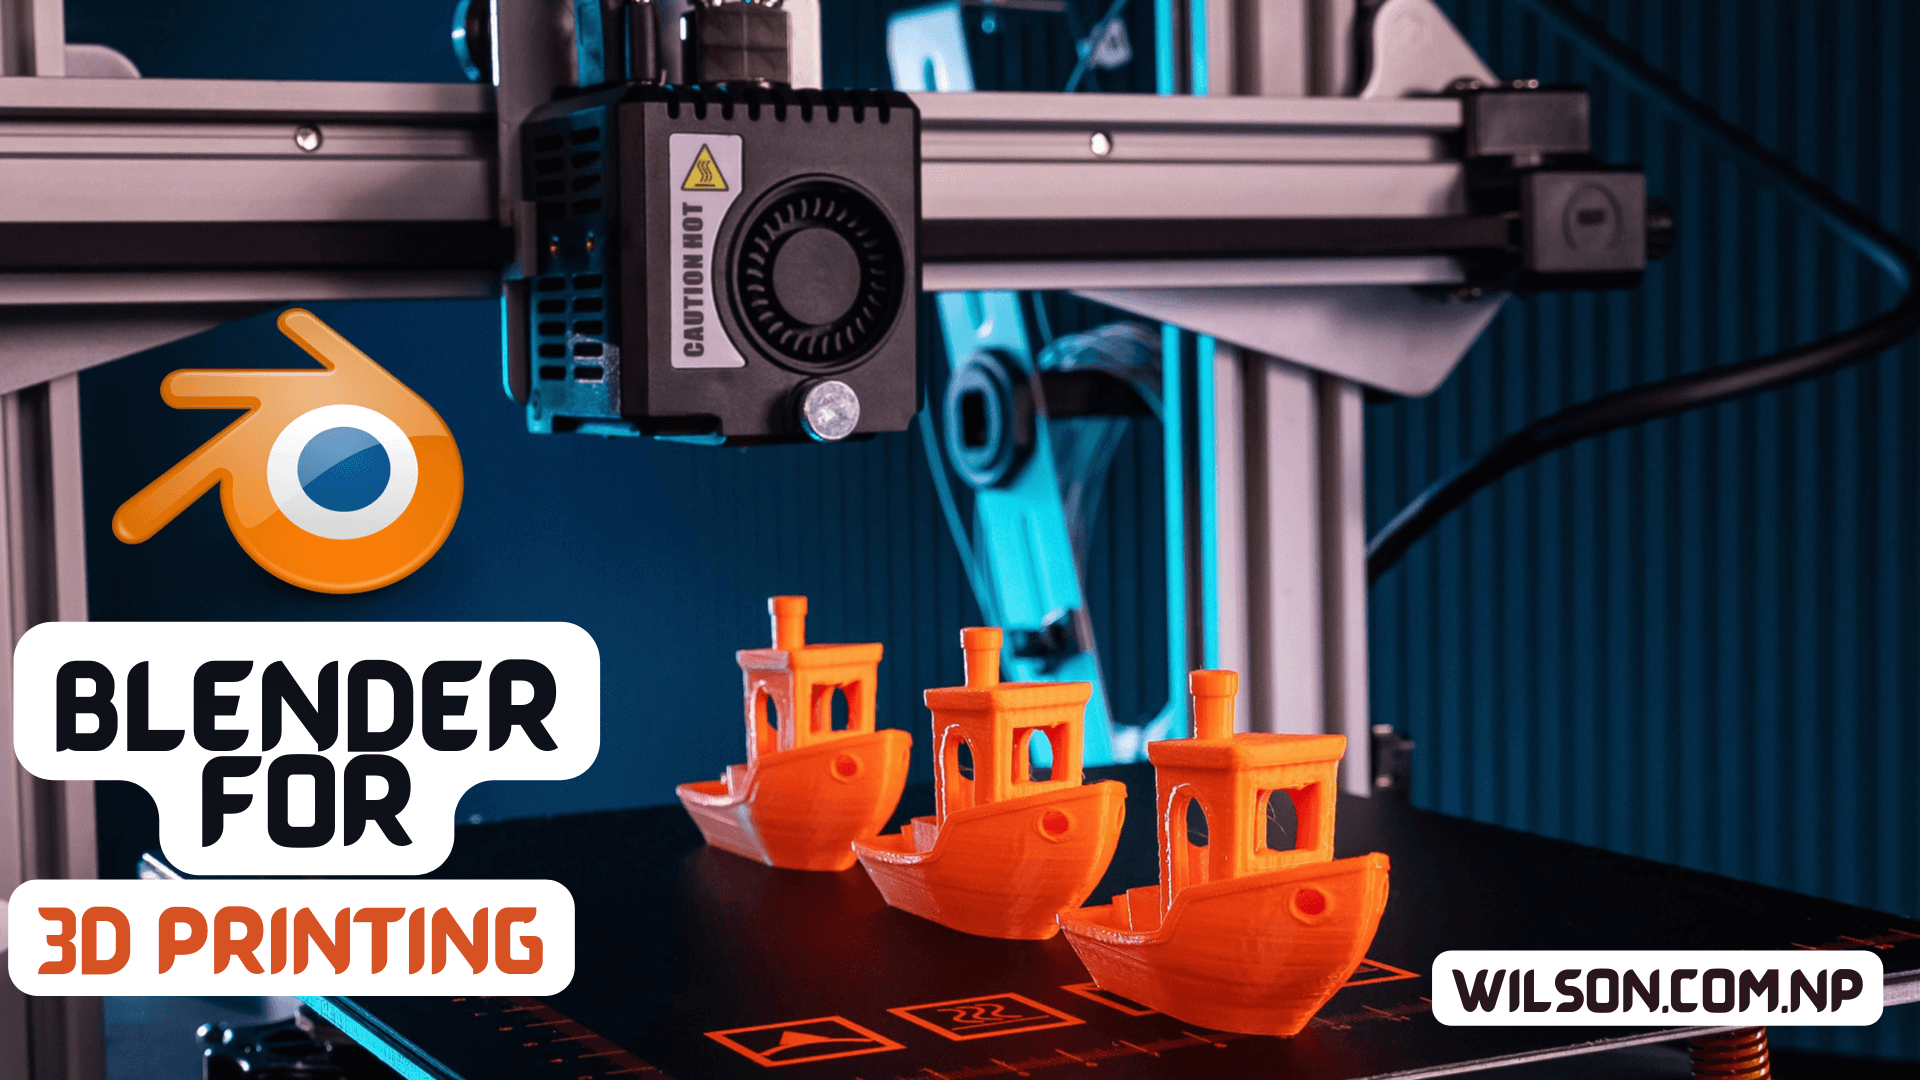
Blender: Is it Good for 3D Printing?

Blender is good for 3D printing Full information

3D printing has taken the world by storm, revolutionizing how we do manufacturing and design. It involves building physical objects from digital files layer by layer using materials like plastic, metal and even food – with increasing popularity comes confusion about if Blender, a 3D graphics software is suitable for 3D printing.

Yes, Blender is an excellent tool for 3D printing – and in this article, we’ll Explain why.

Blender’s 3D Modeling Capabilities

Blender is an impressive 3D modeling software, capable of crafting intricate and complex models suitable for 3D printing. It boasts numerous features that make it ideal for this purpose, such as the capacity to generate organic shapes and precise geometric structures.

One of the key strengths of Blender is its mesh modeling capabilities. Mesh modeling involves creating 3D models by manipulating vertices, edges and faces in three dimensions. Blender has an impressive mesh modeling system that enables precise measurements and detailed designs.

Blender offers a set of sculpting tools that let you easily craft organic forms, like characters and creatures, with ease. These capabilities let you add and remove digital clay for intricate details like wrinkles, bumps, and ridges.

Preparing Models for 3D Printing

Creating 3D models in Blender is only half the battle. To successfully 3D print a model, it needs to be prepared for printing. This involves a process called “slicing,” which involves breaking down the model into layers and creating a set of instructions for the 3D printer to follow.

Blender has several built-in tools that make this process easy. For example, it has a 3D print toolbox that allows you to check your model for errors, such as non-manifold geometry, which can cause printing problems. Blender also has a built-in slicer that allows you to slice your model and generate G-code, which is the language that 3D printers use to print objects.

Blender Now Supports 3D Printing Formats

When it comes to 3D printing, there are several file formats you can use for exporting your models. These include STL, OBJ, and AMF. Blender supports all these formats, making the process of exporting models for printing much simpler.

Blender offers a selection of 3D printing add-ons that make the process even simpler. For instance, the 3D Print Toolbox add-on enables direct export to a printer without the need for extra software.

Conclusion
Blender is an ideal tool for 3D printing, offering its advanced 3D modeling capabilities, convenient preparation tools, and support of popular 3D printing formats. No matter if you’re a novice or an experienced artist in 3D modeling, Blender makes creating 3D models ideal.

Here is Step by Step Process for 3d Printing in Blender

Step 1: Construct Your Model
To begin, design a 3D model in Blender. You can either sculpt it from scratch or download an already-made model from a repository. When 3D printing your model, ensure it has a “watertight” mesh – meaning, all holes or gaps should be filled to prevent issues during the printing process.

Step 2: Check Your Model for Errors
After designing your model, the next step is to check it for any mistakes that could affect the 3D printing process. Blender has an inbuilt tool called the “3D Print Toolbox,” which can help identify potential issues with your model. To access this, select your model and go to “Object Data Properties” > “Mesh Analysis” > “3D Print Toolbox”.

Step 3: Export Your Model
Once your model is free of errors, the next step is to export it in a format compatible with your 3D printer. Common file types for 3D printing include.STL,.OBJ and.PLY; to export your model go to “File” > “Export” then select your desired file format.

Step 4: Prepare Your Model for Printing
Before sending your 3D model off to be printed, you must prepare it first. This involves setting up the print bed and configuring printer settings so that your model prints correctly. Software such as Cura or Simplify3D can help with this step.

Step 5: Send Your Model to the Printer
Once your model is ready, send it off to your 3D printer for printing. Be sure that everything is calibrated correctly and that you have loaded the correct filament before beginning this step. Enjoy watching as your 3D model comes alive during printing!

Advantages of 3D Printing in Blender

  • User-Friendly Interface: Blender has been designed with simplicity in mind, even for novice users. Its intuitive interface enables users to quickly design and modify 3D models.
  • Powerful 3D Modeling Tools: Blender provides a robust selection of 3D modeling tools, enabling users to craft complex and detailed models with ease. This makes it an ideal choice for 3D printing projects where precision and accuracy are key components.
  • Cost-Effectiveness: Blender is a free and open-source software program, making it affordable for both hobbyists and professionals. This makes it an ideal option for those who want to explore 3D printing without investing in costly software.
  • Large Community: Blender boasts an active community of users who provide tips, tutorials, and resources. This makes it simple for users to get help when needed.

Disadvantages of 3D Printing in Blender:

  • Steep Learning Curve: Although Blender has a user-friendly interface, it can still take some time to become proficient with all its features. This may prove daunting for newcomers just starting out.
  • Limited Technical Support: Due to Blender’s open-source nature, technical support for users who run into issues or need help troubleshooting issues may be limited. This can be discouraging for those who require assistance in solving these problems.
  • Lack of Native 3D Printing Support: Although Blender can create 3D models suitable for printing, it does not possess native support for this task. This means users will have to export their designs into another software or tool in order to prepare them for production.
  • Limited Compatibility: Blender may not be compatible with all 3D printers or printing software. This could present a limitation for those wishing to utilize an exclusive printer or program.
[dsm_blog_carousel include_categories=”115″ use_excerpt=”off” use_date=”off” use_author=”off” centered_slides=”on” _builder_version=”4.23.1″ _module_preset=”default” hover_enabled=”0″ global_module=”234877″ global_colors_info=”{}” sticky_enabled=”0″][/dsm_blog_carousel]

FREE DOWNLOAD: BLENDER ADDONS

Blender is an incredible 3D modeling software that comes with many useful features. However, with the help of some add-ons, you can make your work even easier and more efficient.

[dsm_animated_gradient_text animated_gradient_text=”UV Edit Plugins” _builder_version=”4.20.4″ _module_preset=”default” header_text_align=”center” global_colors_info=”{}”][/dsm_animated_gradient_text]
download free uvPackmaster 3 for blender
[dsm_animated_gradient_text animated_gradient_text=”UvPackMaster V_3.1.1″ _builder_version=”4.20.0″ _module_preset=”default” custom_margin=”||5px|||” global_colors_info=”{}”][/dsm_animated_gradient_text]

✅ Fastpacking algorithms
✅ Advance UDIM options
✅ Organized UV Packing
✅ Customizable packing options
✅ Multiple Packing Modes
✅ Ability to specify texture sizes for each object
✅ Automatic resolution adjustment for optimized packing
✅ Ability to export packed UV maps in different file formats

zen uv addon for blender free download
[dsm_animated_gradient_text animated_gradient_text=”ZenUV V_3.1.1″ _builder_version=”4.20.0″ _module_preset=”default” custom_margin=”||5px|||” link_option_url=”https://zen-masters.github.io/Zen-UV/” link_option_url_new_window=”on” global_colors_info=”{}”][/dsm_animated_gradient_text]
Features:
✅ Auto UV
✅ Straighten UV
✅ Island Organized
✅ Check Texel Density
✅ Check UV Coverage
✅ Display Stretch Map
Download UV-Packer for free
[dsm_animated_gradient_text animated_gradient_text=”UV Packer V_1.3.0″ _builder_version=”4.20.0″ _module_preset=”default” custom_margin=”||0px|||” global_colors_info=”{}”][/dsm_animated_gradient_text]

Features:
✅ Tiles Grid
✅ Rescale UV Charts
✅ Auto UV
✅ Check Texel Density
✅ Check UV Coverage
✅ Auto Manage island 

[dsm_animated_gradient_text animated_gradient_text=”Retopology” _builder_version=”4.20.4″ _module_preset=”default” header_text_align=”center” global_colors_info=”{}”][/dsm_animated_gradient_text]
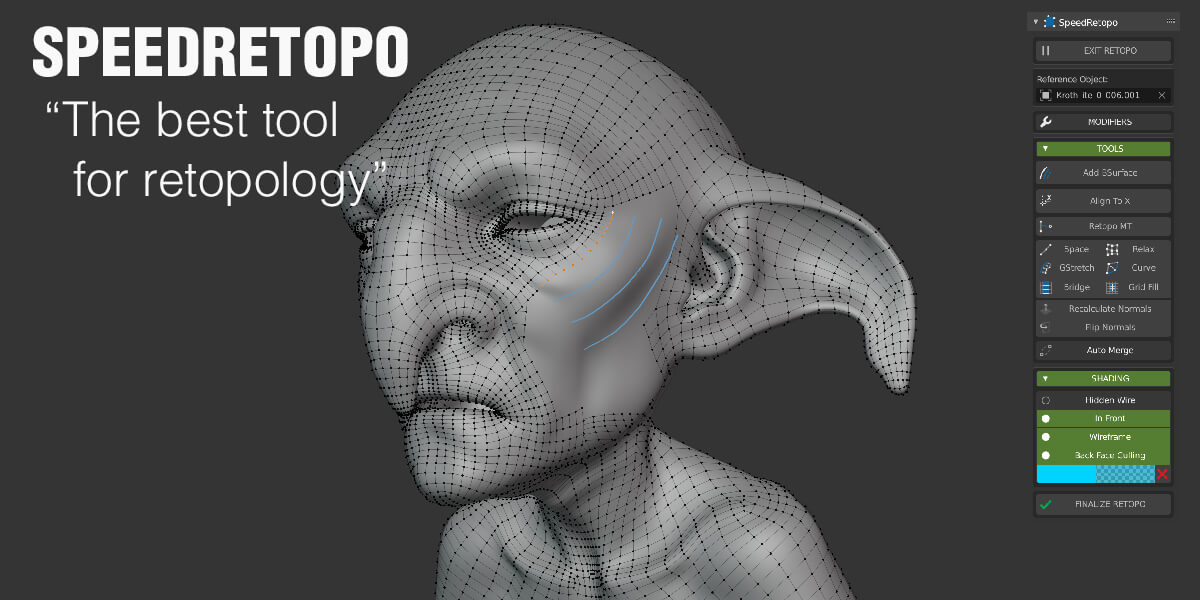
free download speedretopo addon for blender
[dsm_animated_gradient_text animated_gradient_text=”Speedretopo V_0.1.7″ _builder_version=”4.20.0″ _module_preset=”default” custom_margin=”||0px|||” global_colors_info=”{}”][/dsm_animated_gradient_text]

✅ Instant retopology
✅ Automatic mesh generation
✅ Manual retopology tools
✅ Symmetry support
✅ Surface snapping
✅ Grid-based topology
✅ Adaptive quad size
✅ Multi-resolution editing
✅ Edge flow control
✅ Shrinkwrap projection

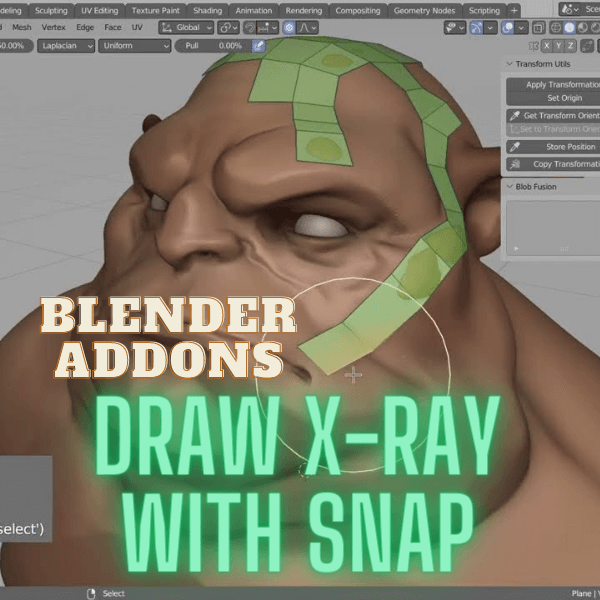
Free Download Blender Addons Draw x-ray with snap
[dsm_animated_gradient_text animated_gradient_text=”Draw X-Ray With Snap V_2.5″ _builder_version=”4.20.0″ _module_preset=”default” custom_margin=”||4px|||” global_colors_info=”{}”][/dsm_animated_gradient_text]

Features:
✅ Draw Xray addon will help you to draw retopo mesh on top of your high-poly mesh, without problems of build-in blender xray (no proper back-face culling).

[dsm_animated_gradient_text animated_gradient_text=”3d Modeling” _builder_version=”4.21.0″ _module_preset=”default” header_text_align=”center” global_colors_info=”{}”][/dsm_animated_gradient_text]
free-download-OCD-blender-addon
[dsm_animated_gradient_text animated_gradient_text=”OCD V_1.5.0″ _builder_version=”4.20.0″ _module_preset=”default” custom_margin=”||4px|||” global_colors_info=”{}”][/dsm_animated_gradient_text]

Features:
✅ NEW Smart Scaling system
✅ NEW Smart Pattern Changer
✅ NEW Add-on Preferences
✅ NEW Non-Linear graph
✅Multi-selection feature
✅Instant visual feedback
✅Slim UI with adjustable parameters
✅Variety of procedural noises
✅Auto material creation
✅RECALL function
✅Ctrl/Cmd function
✅Procedural approach

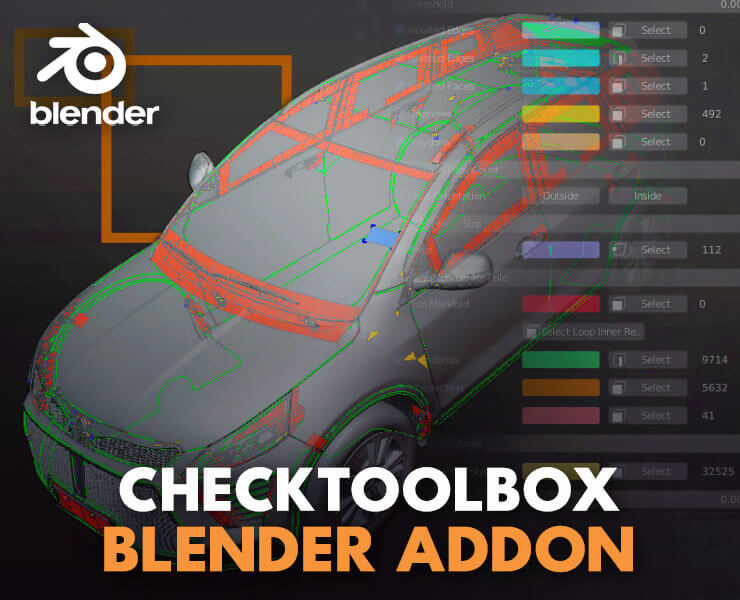
free donwload checktoolbox addon for blender
[dsm_animated_gradient_text animated_gradient_text=”CheckToolBox V_1.3″ _builder_version=”4.20.0″ _module_preset=”default” custom_margin=”||4px|||” global_colors_info=”{}”][/dsm_animated_gradient_text]

It Counts & highlights the following:
✅ Isolated edges
✅ Doubles Faces
✅ Isolated Points
✅ Isolated edges, and
✅Isolated faces,
✅Triangles
✅Non-manifold
✅Intersection
✅Distortion
✅ N-gons

HardOps Addons For blender Free download
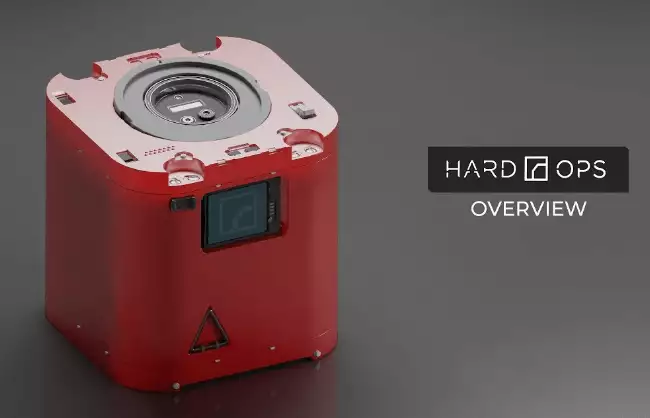
[dsm_animated_gradient_text animated_gradient_text=”HardOps” _builder_version=”4.21.0″ _module_preset=”default” custom_margin=”||4px|||” global_colors_info=”{}”][/dsm_animated_gradient_text]

It simplifies the process of creating complex models, making it ideal for anyone looking to create high-quality designs quickly.

✅Reduction of clicks and keystrokes to speed up the process.
✅Control over topology must be regained if booleans are introduced.

✅Modifiers such as lattices, curves, and lights

✅Boolean based cutting workflows

[dsm_animated_gradient_text animated_gradient_text=”Rigging” _builder_version=”4.21.0″ _module_preset=”default” header_text_align=”center” global_colors_info=”{}”][/dsm_animated_gradient_text]
auto rig pro free download blender addons
[dsm_animated_gradient_text animated_gradient_text=”Auto-Rig Pro V_3.67.18″ _builder_version=”4.20.0″ _module_preset=”default” custom_margin=”||4px|||” link_option_url=”https://mega.nz/file/YlgAALiZ#plzuOfRemV1KeUWyQujhEqpS6_GLmKz1nAyvMtUPWzU” link_option_url_new_window=”on” global_colors_info=”{}”][/dsm_animated_gradient_text]

Features:
✅ It is used for rigging characters, retargeting animations, and exporting to Fbx/Gltf.
✅ It provides presets for game engines such as Unity, Unreal Engine, and Godot.

Here are our top five picks for the best Blender add-ons:

Animation Nodes
Animation Nodes is an add-on that enables you to create intricate animations quickly and easily. It uses a node-based interface that simplifies the process of making complex animations that might otherwise be challenging with traditional keyframe methods.

TextFX
TextFX is an add-on that makes working with text in Blender much more manageable. With TextFX, you can create 3D text, apply textures and effects, and even animate your text with ease.

FLIP Fluids
FLIP Fluids is an add-on that is essential for anyone working with fluid simulations in Blender. With this add-on, you can create realistic fluid simulations like water and smoke with ease.

Top Free Blender Add-ons

  • Node Wrangler
  • UV Squares
  • Fast Carve
  • Material Utils
  • TextFX

Best Add-ons for 3D Printing

  • 3D Print Toolbox
  • Meshlab
  • MeshLint
  • 3D Printing Toolbox

Best Add-ons for Animation

  • Animation Nodes
  • Rigify
  • AnimAll
  • LoopTools

Best Add-ons for VFX and Compositing

  • Animation Nodes
  • Dynamic Paint
  • F-Curve Offset
  • Compositor Nodes Extra

Best Add-ons for Game Development

  • BSurfaces
  • BPainter
  • Auto Eye
  • Import Images as Planes

Blender is a popular 3D modeling software that allows users to create stunning 3D models, animations, and visual effects. To enhance the software’s capabilities, there are many free add-ons available that users can download to make their workflow more efficient and effective.

Here are some of the top free Blender add-ons:

  1. Node Wrangler: A useful add-on for working with nodes in Blender, providing shortcuts and tools to make the process faster and easier. Furthermore, with Node Wrangler, you can expediently create new nodes, effortlessly switch between different types of nodes, and instantly preview the result of your node setup with just a few clicks.
  2. UV Squares: A simple yet powerful add-on for creating UV maps quickly and easily by automatically squaring up your UV islands.
  3. Fast Carve: A great tool for sculpting and modeling complex shapes and structures by combining different objects and subtracting or adding them to each other.
  4. Material Utils: A collection of tools for working with materials in Blender, making the process easier and more efficient.
  5. TextFX: An add-on for creating 3D text and logos in Blender, providing a range of tools for customizing your text, including bevels, extrusions, and textures.
[dsm_blog_carousel include_categories=”115″ use_excerpt=”off” use_date=”off” use_author=”off” centered_slides=”on” _builder_version=”4.23.1″ _module_preset=”default” global_module=”234877″ saved_tabs=”all” global_colors_info=”{}”][/dsm_blog_carousel]

WorldLink List of Internet Package Prices in Nepal (2026 Updated)

WorldLink list of Internet package prices in Nepal 2026

WorldLink List of Internet Package Prices in Nepal (2026)

Last updated: 29 September 2026 · Prices checked against WorldLink’s official plan pages.

Looking for the latest WorldLink list of Internet package prices in Nepal? This page puts every current WorldLink plan in one place: Standard fibre plans (200–300 Mbps), the new WorldLink 6G (Wi-Fi 6) plans, NETTV bundles, 600 Mbps and 1 Gbps Photon plans, Gamers Pack and SME+ business plans, plus the one-time installation charges most price lists leave out.

Quick answer

  • Cheapest WorldLink plan: 200 Mbps for Rs. 1,300/month (Rs. 3,300 for 3 months, Rs. 12,600 for 12 months).
  • Cheapest Wi-Fi 6 plan: WorldLink 6G 200 Mbps – Rs. 3,450 for 3 months.
  • Fastest plan: 1 Gbps – Rs. 39,999 per year (selected cities only).
  • All prices exclude 13% VAT. Telecom Service Charge (TSC) is already included.

WorldLink Internet Package Price List at a Glance (2026)

Plan typeSpeeds availableStarting priceBest for
Standard (Dual-band router)200 / 250 / 300 MbpsRs. 1,300 / monthMost homes
WorldLink 6G (Wi-Fi 6)200 / 400 / 500 / 600 MbpsRs. 3,450 / 3 monthsBigger homes, many devices
WorldLink 6G + NETTV Cine+200 / 400 / 500 / 600 MbpsRs. 4,200 / 3 monthsInternet + TV and movies
Photon (XGS-PON)600 Mbps / 1 GbpsRs. 30,000 / yearHeavy users, creators
Gamers Pack250 / 300 MbpsRs. 3,600 / 3 monthsOnline gaming (PUBG etc.)
SME+ (Business)50 / 75 / 100 / 150 MbpsRs. 5,400 / 3 monthsSmall offices and shops