
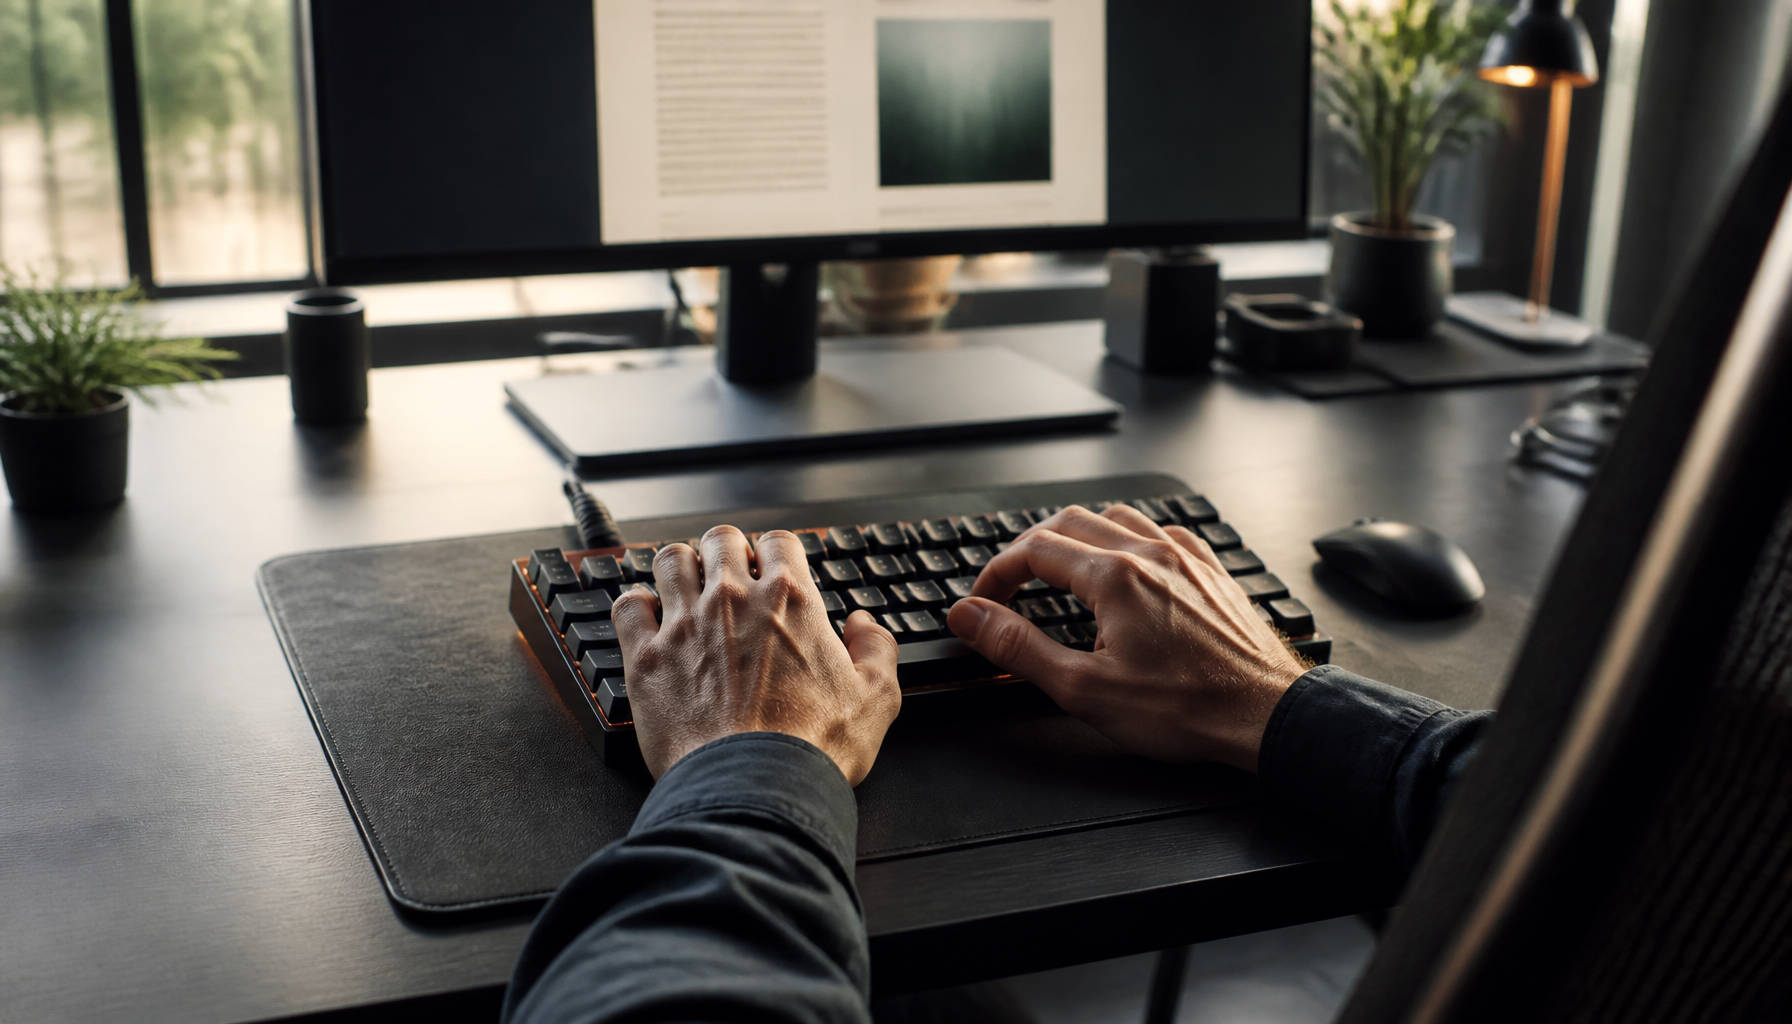
Touch typing means typing without looking at the keyboard, using all ten fingers, with each finger responsible for a fixed set of keys. It is the difference between hunting for letters one at a time and writing at the speed you think.
This guide covers touch typing for beginners in the order you should actually learn it: posture, the home row, a simple two-week plan, realistic WPM benchmarks, and how the same finger habits carry over to Nepali typing.
Last updated: November 2026
Key takeaways
- Touch typing means typing by feel, with each finger assigned to fixed keys, so your eyes never leave the screen.
- Everything starts from the home row: the eight keys your fingers rest on and return to after every reach.
- Learn one row at a time (home, then top, then bottom) instead of the whole keyboard at once.
- Accuracy first, speed second: aim for about 95% accuracy before chasing words per minute.
- A short daily habit of 15–20 minutes for two weeks is enough to stop looking at the keys for most beginners.
- The same finger positions carry straight over to Nepali typing in Preeti and Unicode.
On this page
- Why touch typing is worth learning
- Sit properly before you type
- Learn the home row
- Add one row at a time
- How fast should a beginner type?
- A simple 2-week practice plan
- How this carries over to Nepali typing
- The best free tools to practise with
- Common beginner mistakes
- Frequently asked questions
- Your next step
Why Touch Typing Is Worth Learning
Speed without effort
Once your fingers know where the keys are, your eyes stay on the screen and your speed rises naturally.
Fewer mistakes
You notice errors as they appear on screen instead of after you finish a line.
Less strain
Looking down at the keys and back at the screen all day tires your neck and eyes.
Exam and job readiness
Typing tests for computer operator and assistant-level posts reward both speed and accuracy.
Step 1: Sit Properly Before You Type
Good posture is not optional. Bad habits here slow you down and cause aches later.
- Sit upright with your back supported and both feet flat on the floor.
- Keep your elbows bent at about 90 degrees, with your forearms roughly level with the keyboard.
- Keep your wrists straight and relaxed. Do not rest them hard on the desk edge.
- Place the screen at eye level, about an arm’s length away.
Step 2: Learn the Home Row
Your fingers rest on the home row, the middle row of letter keys. Each finger returns here after every key press, which is what lets you find the other keys without looking.
The gold outline marks F and J, the keys with a raised bump.
| Hand | Pinky | Ring | Middle | Index |
|---|---|---|---|---|
| Left | A | S | D | F |
| Right | ; | L | K | J |
Most keyboards have a small raised bump on the F and J keys. Your index fingers feel for these bumps so you can find the home row in the dark.
Each finger also covers the keys directly above and below it. Your index fingers handle two columns each (F and G on the left, J and H on the right). Always return to the home row after a reach.
Step 3: Add One Row at a Time
Do not try to learn all three rows in the first few days. Learners who rush this stage usually fall back into looking at the keys.
How Fast Should a Beginner Type? (WPM Benchmarks)
Speed is a side effect of accuracy, not a target to chase on day one. Still, it helps to know roughly where you stand. These are general, widely used benchmarks for words per minute (WPM). Treat them as a rough guide, not a strict scale.
Preparing for a typing-based exam such as a Lok Sewa computer operator or assistant-level post? The required speed and accuracy vary by notice, so check the official vacancy details rather than relying on general numbers. Our Lok Sewa typing test preparation guide shows how to practise against those specific targets.
A Simple 2-Week Practice Plan
Short, daily sessions work better than one long weekend session. Aim for 15 to 20 minutes a day.
| Days | Focus | Goal |
|---|---|---|
| 1–3 | Home row only | Type the home row without looking |
| 4–6 | Add the top row | Short words, no looking down |
| 7–9 | Add the bottom row | All letters by touch |
| 10–12 | Full sentences, Shift and punctuation | Smooth, steady rhythm |
| 13–14 | Timed tests | Track speed and accuracy |
Accuracy comes before speed. Aim for around 95% accuracy before you push for more words per minute. Speed arrives on its own once your fingers stop searching for keys. If you feel tempted to peek, cover your hands with a cloth or a sheet of paper for the first week.
For a longer, day-by-day structure once these two weeks are done, see our Typeshala lesson guide and 30-day plan.
How This Carries Over to Nepali Typing
Learn the finger positions on the English keyboard first. Nepali typing uses the same physical keys, so the habits transfer directly.
- Preeti maps each English key to a Devanagari character, so your home-row fingers type the Nepali home row. Our Preeti font and keyboard layout guide shows the full map.
- Unicode can be typed phonetically (Romanized) or with an InScript layout. Read Inscript vs Phonetic typing to choose one before you start.
If your exam or job requires Nepali typing, check which system it expects before you spend weeks on practice. If the notice does not say, our guide on how to type Nepali on a laptop will help you decide.
The Best Free Tools to Practise With
Common Beginner Mistakes
Looking at the keyboard
This is the habit to break first. Every glance resets your progress.
Using only two or three fingers
It feels faster at first but caps your speed.
Rushing for speed
Errors cost more time than they save, and many typing tests deduct for them.
Not returning to the home row
Your fingers lose their reference point.
Practising too rarely
Muscle memory builds through frequency, not long gaps between sessions.
Relying on Backspace
Slow down slightly instead of fixing every error as it happens. See common typing mistakes and how Typeshala helps fix them.
Frequently Asked Questions
How long does it take to learn touch typing?
It depends on how often you practise. With 15 to 30 minutes of daily practice, many beginners can find most keys without looking within a few weeks. Speed keeps improving for months after that.
What is a good typing speed for a beginner?
Anywhere from 15 to 25 WPM is a reasonable target in your first couple of weeks of touch typing, rising to 30–45 WPM once it feels comfortable. Most exams and jobs ask for 40–60 WPM with high accuracy, so treat early speed numbers as a baseline, not a deadline.
Should I learn English or Nepali typing first?
Start with the language your exam or job requires. The finger positions and habits you build are the same either way, so the second language comes much faster.
Do I need a special keyboard?
No. Any standard keyboard with the raised bumps on F and J works. A comfortable, full-size keyboard helps but is not required.
Can adults learn touch typing, or is it only for kids?
Adults learn touch typing just as well as children. Muscle memory builds at any age with consistent practice. The main difference is usually unlearning an existing hunt-and-peck habit, which takes a bit of patience in the first week.
How can I type faster once I can touch type?
Keep accuracy high, practise daily, and work on rhythm rather than bursts. See our tips on how to increase typing speed in Typeshala.
Your Next Step
Pick one practice tool from the list above, sit properly, and spend 15 minutes today on the home row alone. Do the same tomorrow. Consistency matters more than any trick.
Today: 15 minutes, home row only